

As we learned earlier, aperture is the size of the opening in the camera’s lens measured in f-stops. I know it sounds weird but the smaller the f-stop number the larger the opening. I want to show you today how you can take advantage of apertures to create outstanding photographs.

Maximum Depth of Field or Hyperfocus. Copyright © Scott Thomas Photography 2007
Nikon D70/18-200VR, 1/500s, f/11, -1.3 EC, 18mm Focal Length
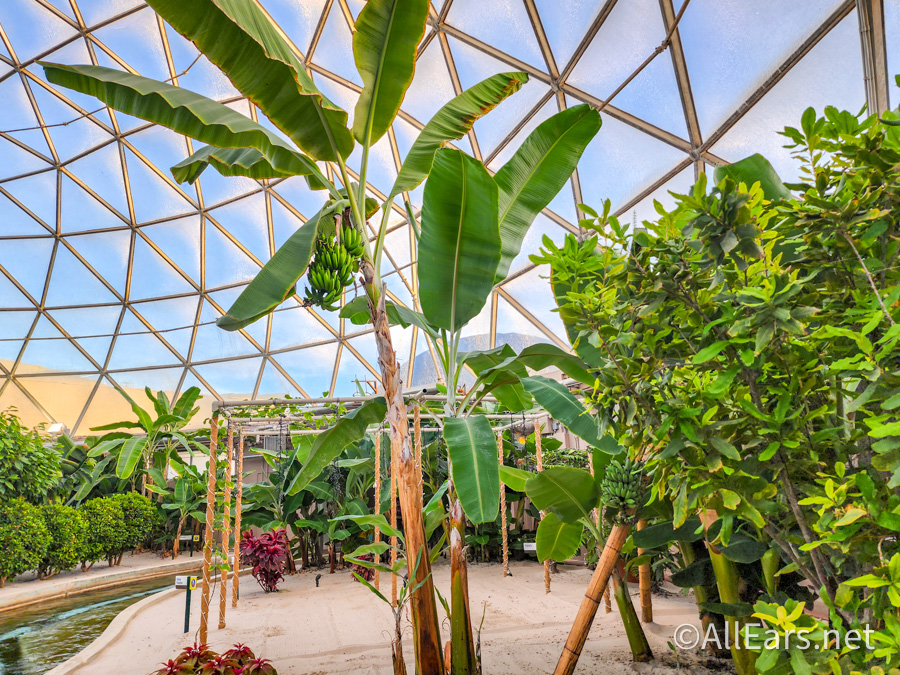
The first technique is called hyperfocus and getting the maximum depth of field in a photo. This is where everything in the photo is in focus from the closest to the farthest objects out to infinity. Searching on hyperfocus will bring up all kinds of calculators on how to figure out where to focus when using a certain focal length (18, 28, 35, etc. in mm) and f-stop. By setting the aperture to an f-stop of f/11 or f/16 and focusing on a close subject, you’ll get the hyperfocus effect. In the photo taken from Epcot’s Flower and Garden Festival of the floating flowers, I wanted people to view this photo starting with the floating flower pot at the bottom and continue upwards to the clouds in the sky. This is how imagineeers use forced perspective throughout the parks to makes things look bigger than they actually are.

Selective Focus. Copyright © Scott Thomas Photography 2007
Nikon D70/18-200VR, 1/250s, f/5.6, -0.3 EC, 200mm Focal Length
What do you do if the background of the subject you want to photograph is busy? If you used a high f-stop, your subject could get lost in that busy background. For this situation you want to use a smaller f-stop or do, what is called, shooting with your lens wide open. This is done by setting the aperture at it’s lowest f-stop. For my 18-200mm VR zoom lens at 200mm, it’s wide open f-stop is f/5.6, which is what I used to separate and selectively focus on the meerkat at Disney’s Animal Kingdom from the foliage in the distance. In this way, you are focused on the meerkat and not what is behind him. This is a great way to take human portraits at Walt Disney World and not get all those other humans in the background.
Quick Tip: I know some of you are thinking how do you set apertures using a digital camera. You do this by setting the camera’s shooting mode to Aperture Priority. Refer to your camera’s manual on how to do this. Once done, you set your f-stop and the camera calculates the shutter speed. Be careful here. If the aperture chosen is making your shutter speed to long, you may need to either make your aperture bigger or use a tripod.


Trending Now
An iconic EPCOT ride got a bit of a refresh recently!
We would love to know what Disney World is planning for this abandoned spot!
We bet we'll be seeing a LOT of people in these new Amazon shirts in...
Here are some Disney household items on sale right now from Amazon!
We found your perfect Hollywood Studios tee.
One of Disney World's parks is about to celebrate a NEW milestone soon and they're...
What's become of Hollywood Studios' opening day attractions?
We're a little surprised that these ride trends haven't changed in Disney World yet!
From time to time, rides and attractions are taken out of production temporarily for various...
Here are all the attraction closures you need to be aware of in Disney World...
Check out all the new photos of Universal's new Terra Luna and Stella Nova Resorts...
We're digging into Disney World's Magic Kingdom expansion plans!
One Disney World park is about to celebrate a big milestone!
Your jaw will DROP when you see the NEW Disney popcorn buckets coming soon!
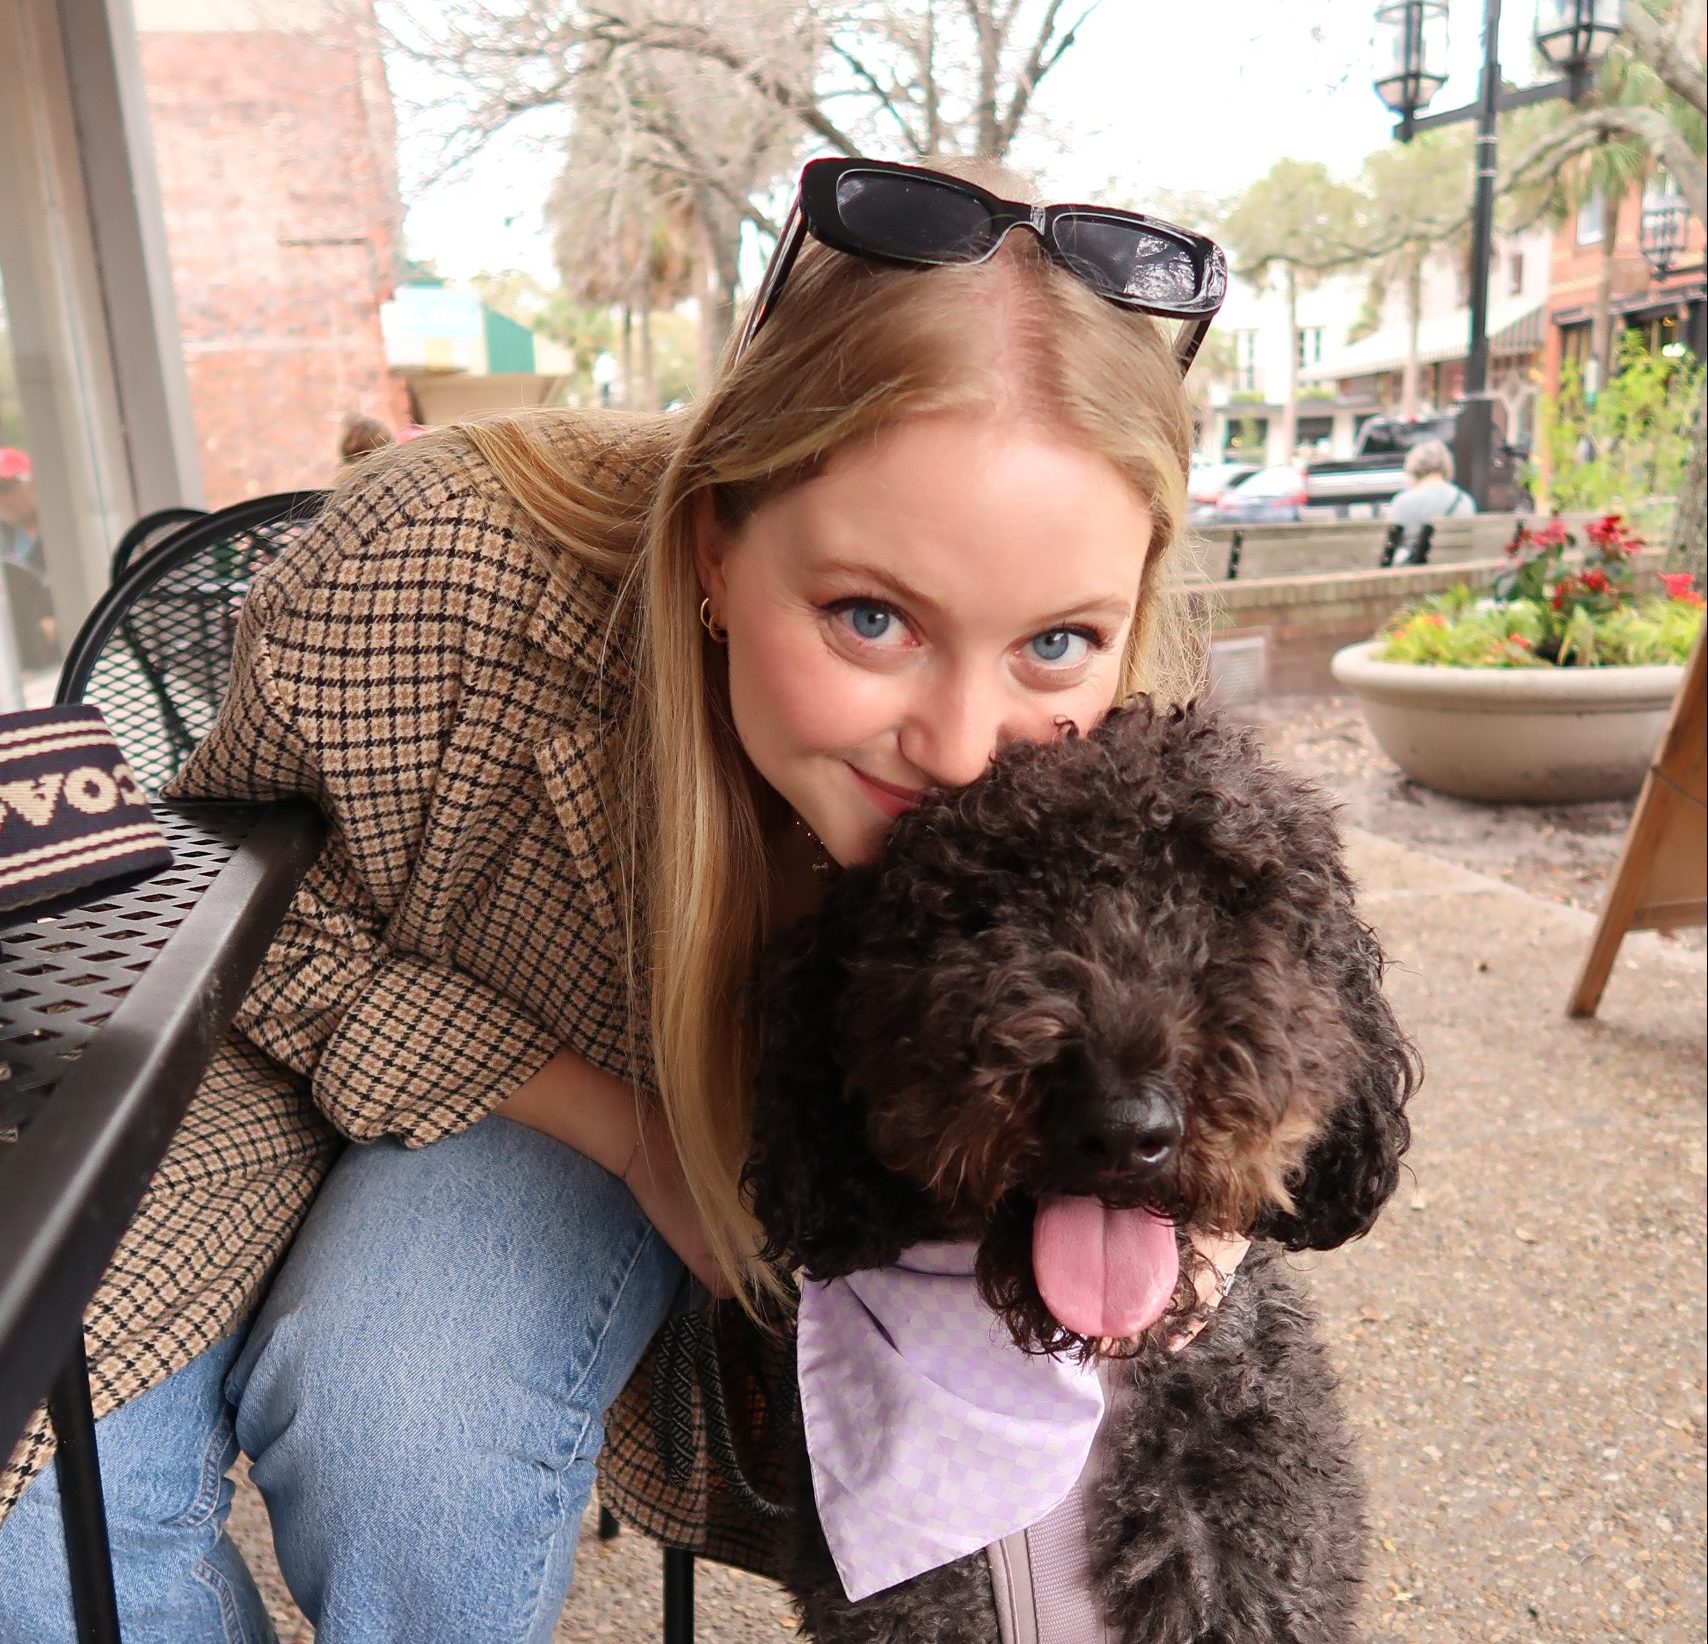
My dog stayed at Disney World, and she loved it!
The way guests pay for Savi's Workshop and Droid Depot is changing!
Wondering which of Disney World's new restaurants to eat at? We can help!
It's Gemini season, and for all our Geminis, here are some Loungefly bags that are...
This Disney Loungefly is a little late to the party...bur nevertheless you can snag it...
Disney's Fab Five - plus Daisy Duck and Chip & Dale - have their new...