All-Star Music Photos
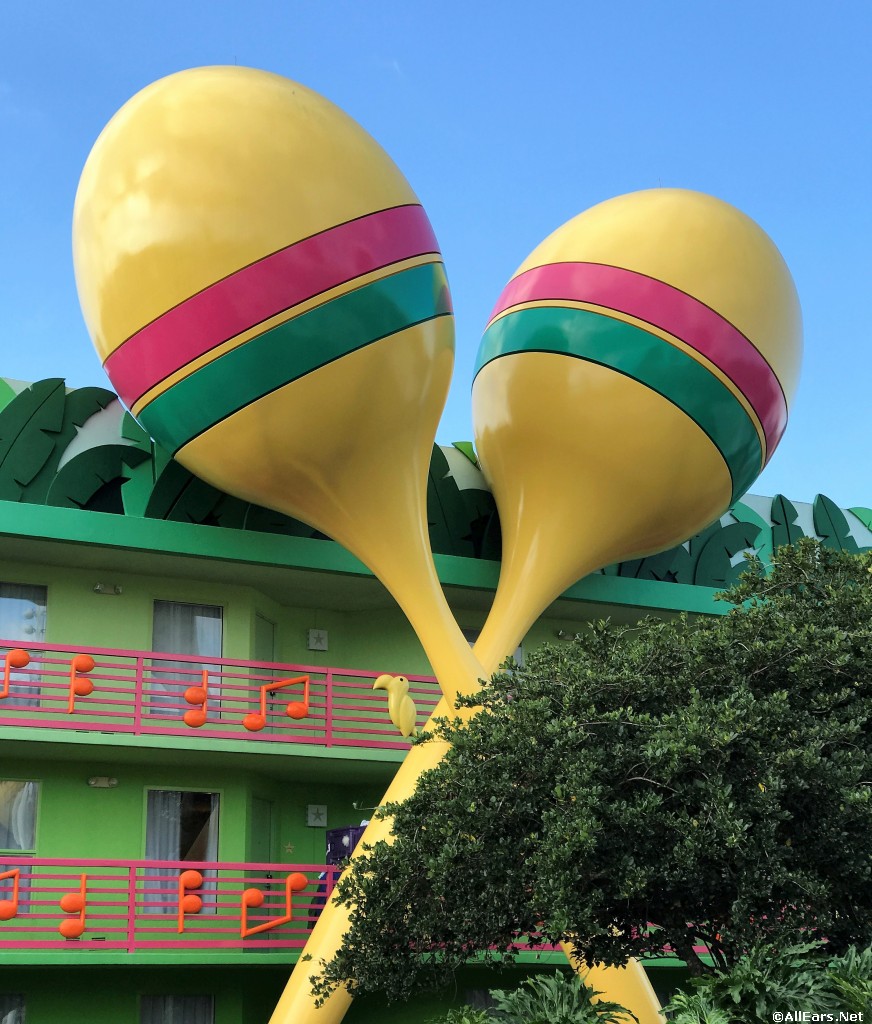
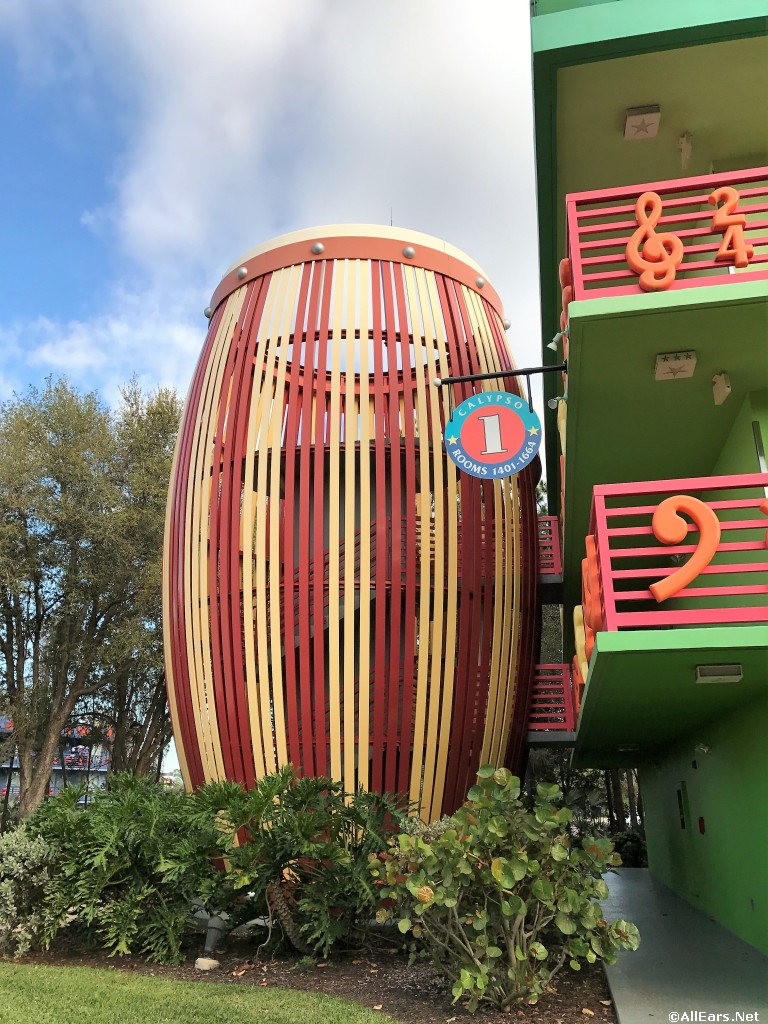
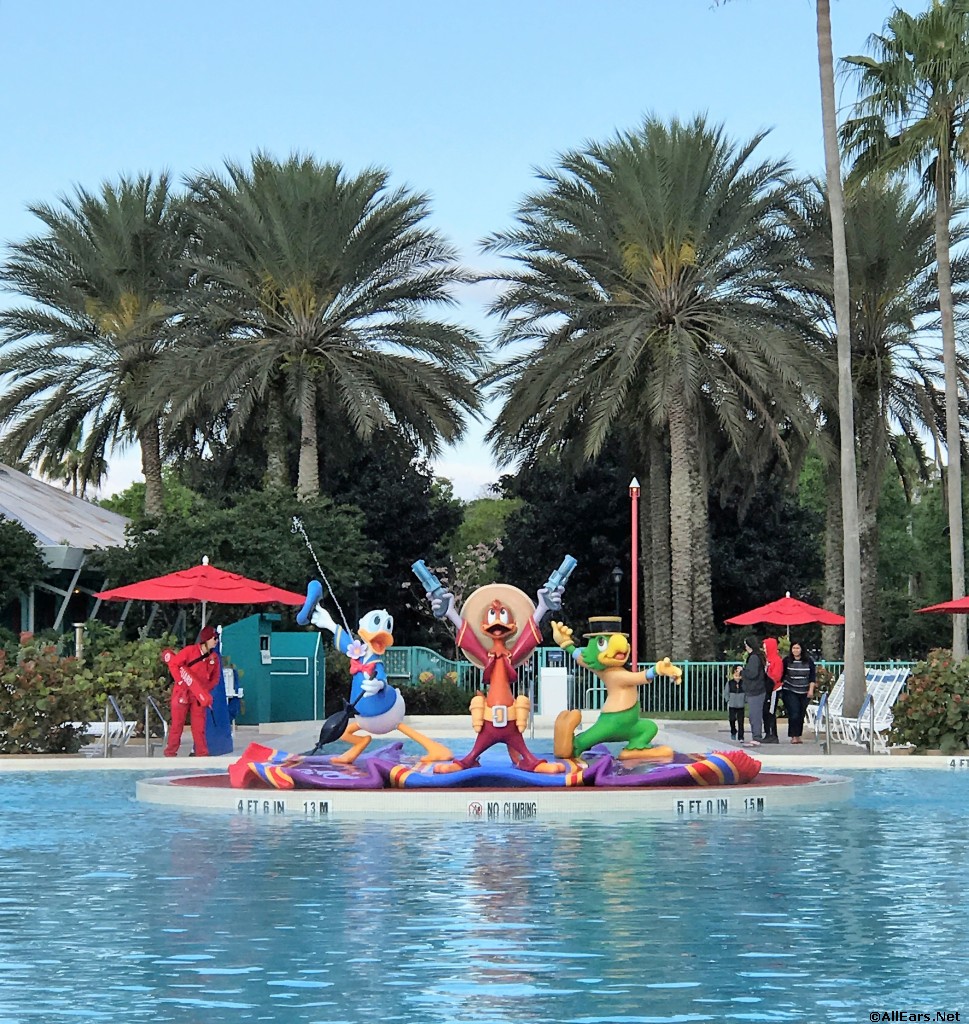
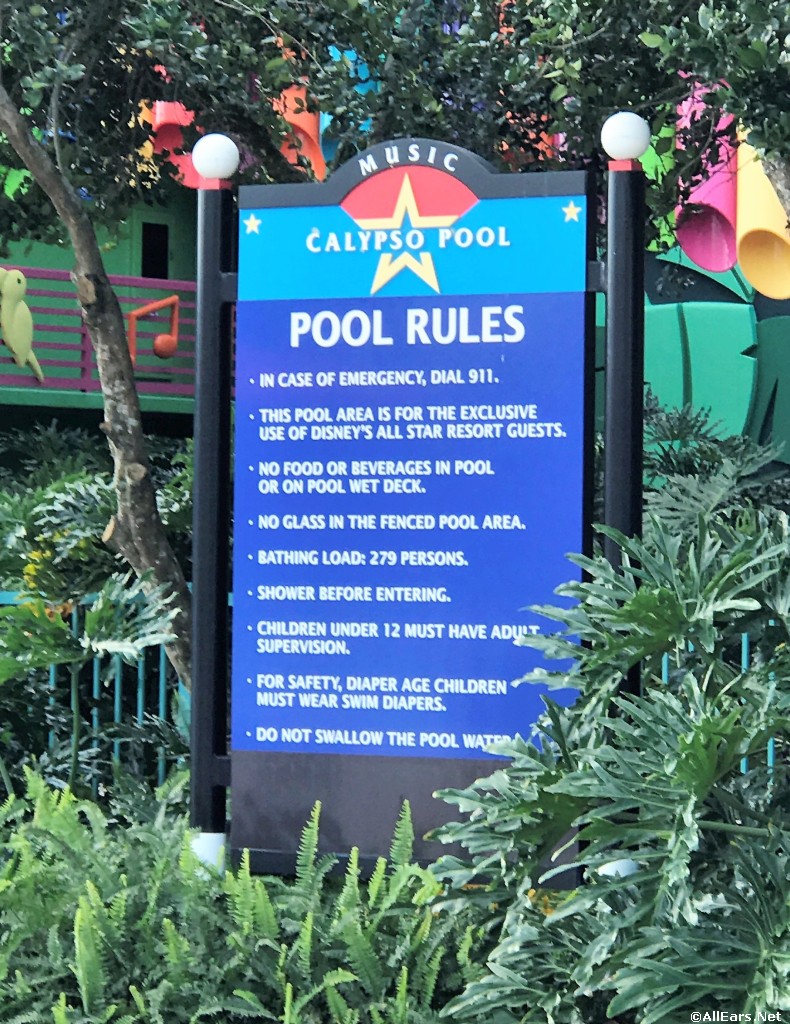
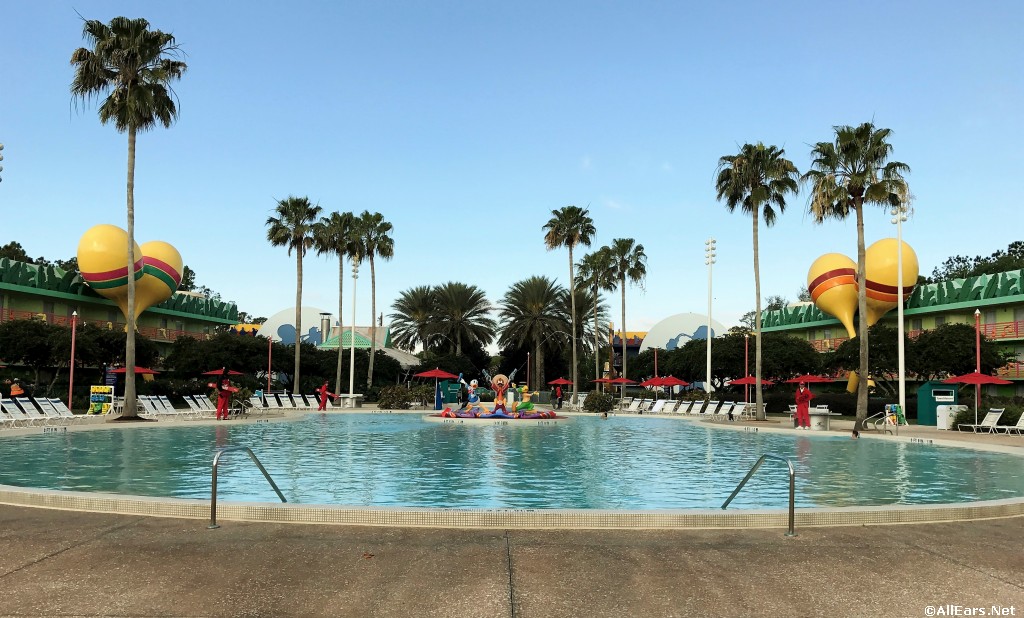
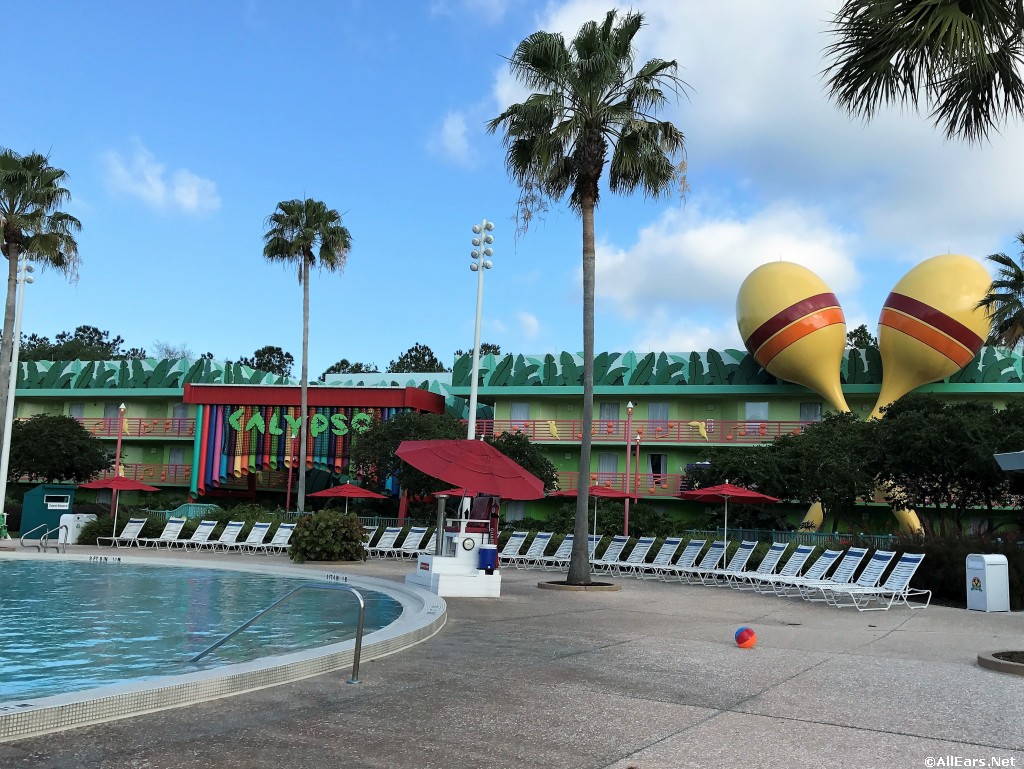
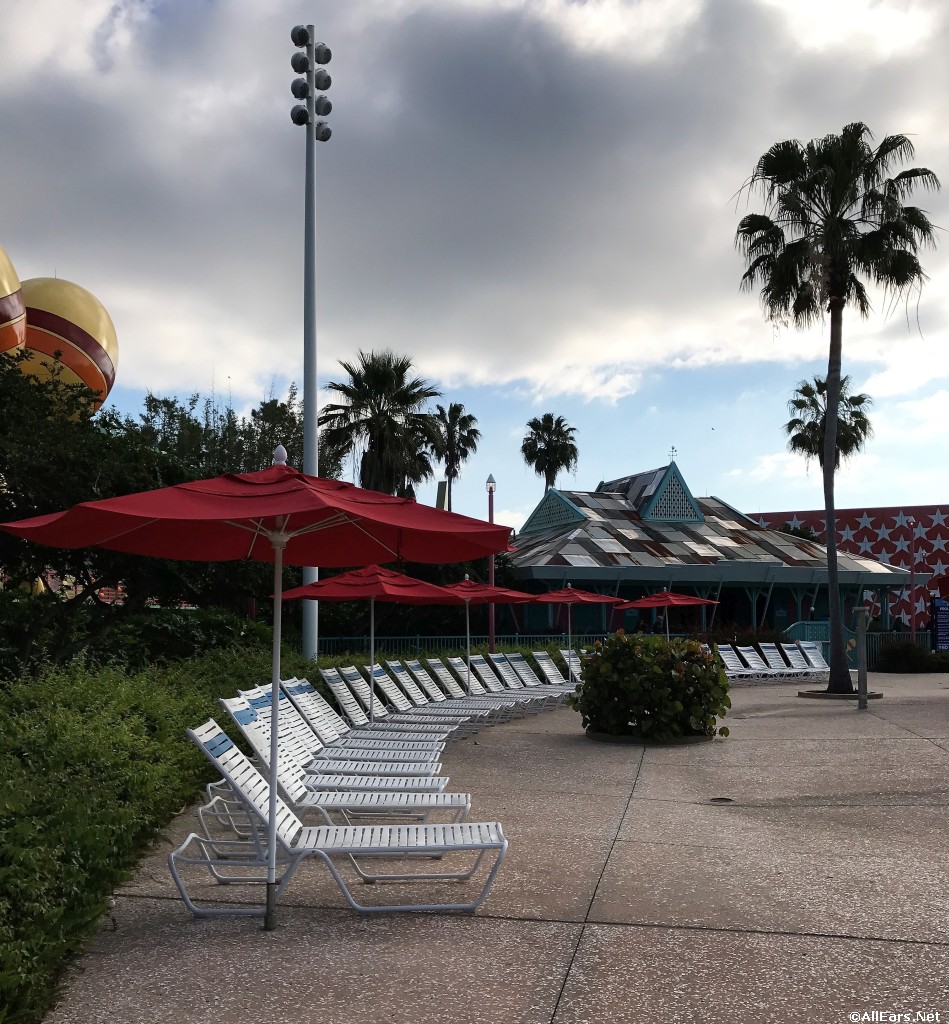
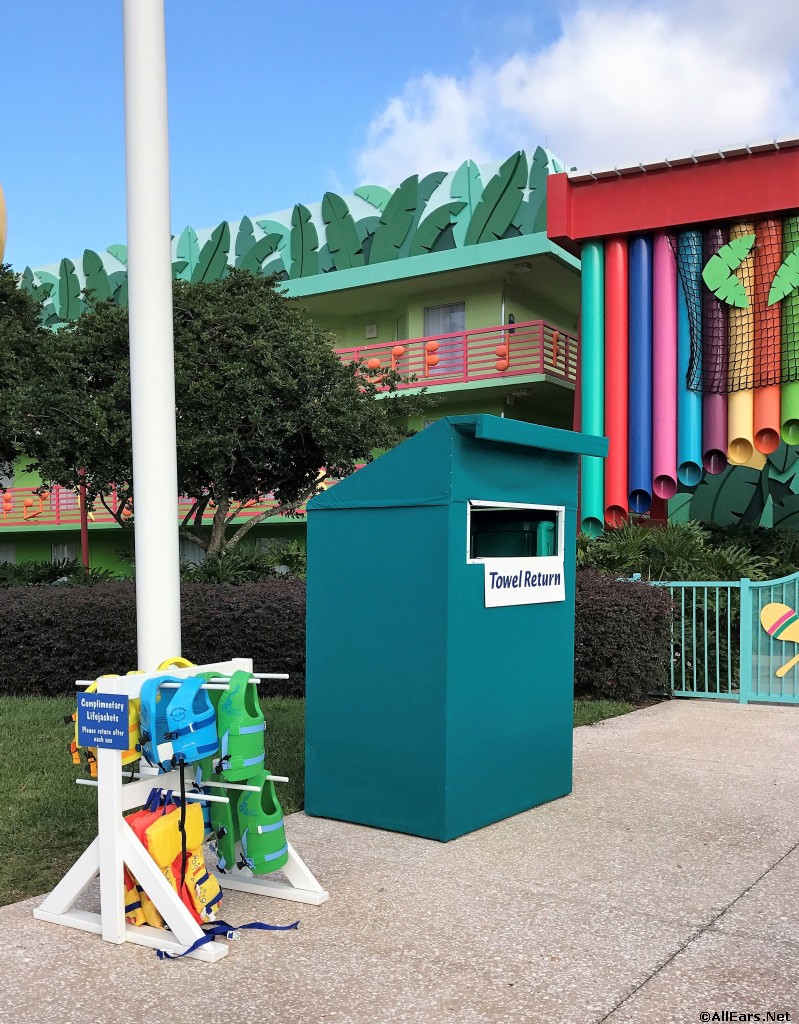
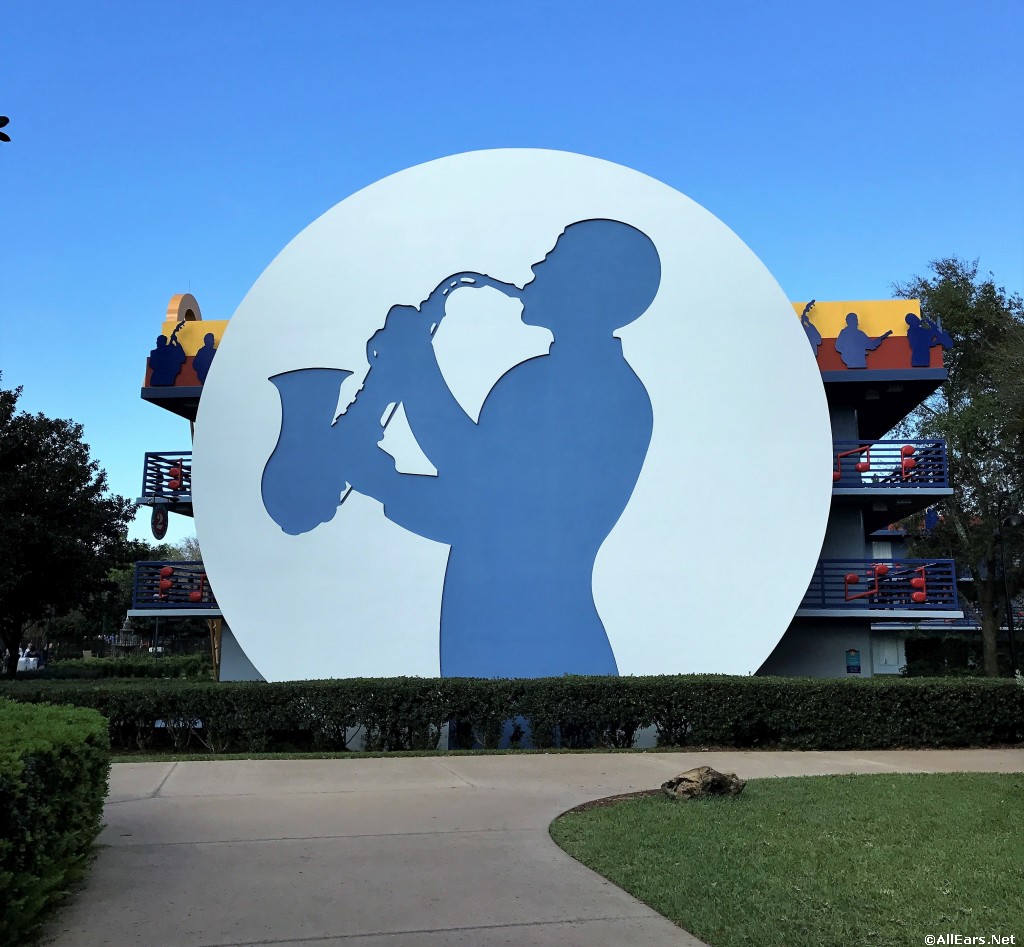
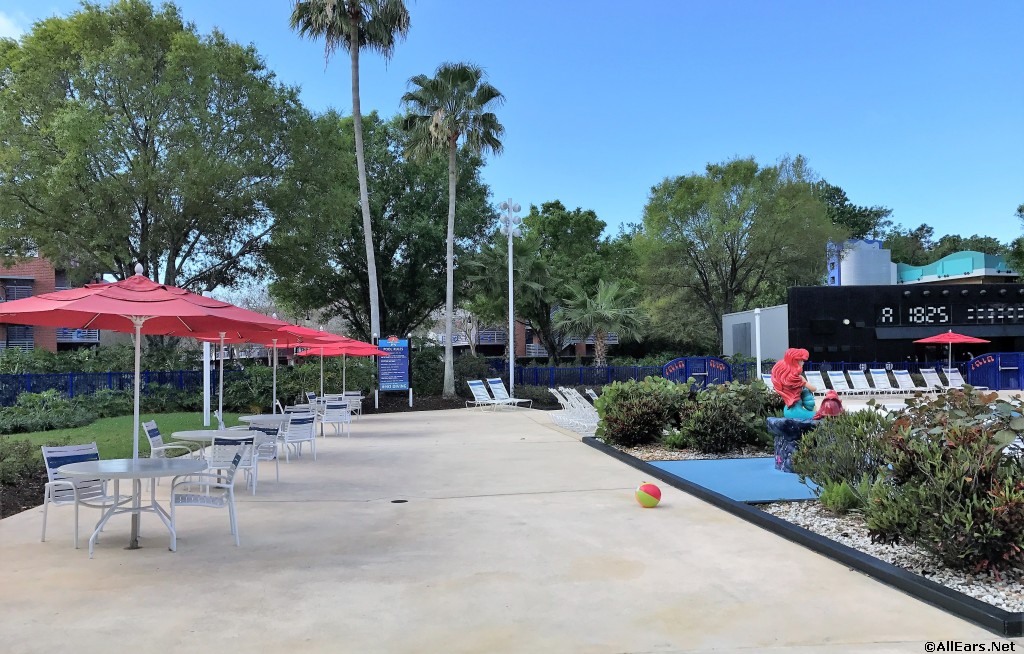
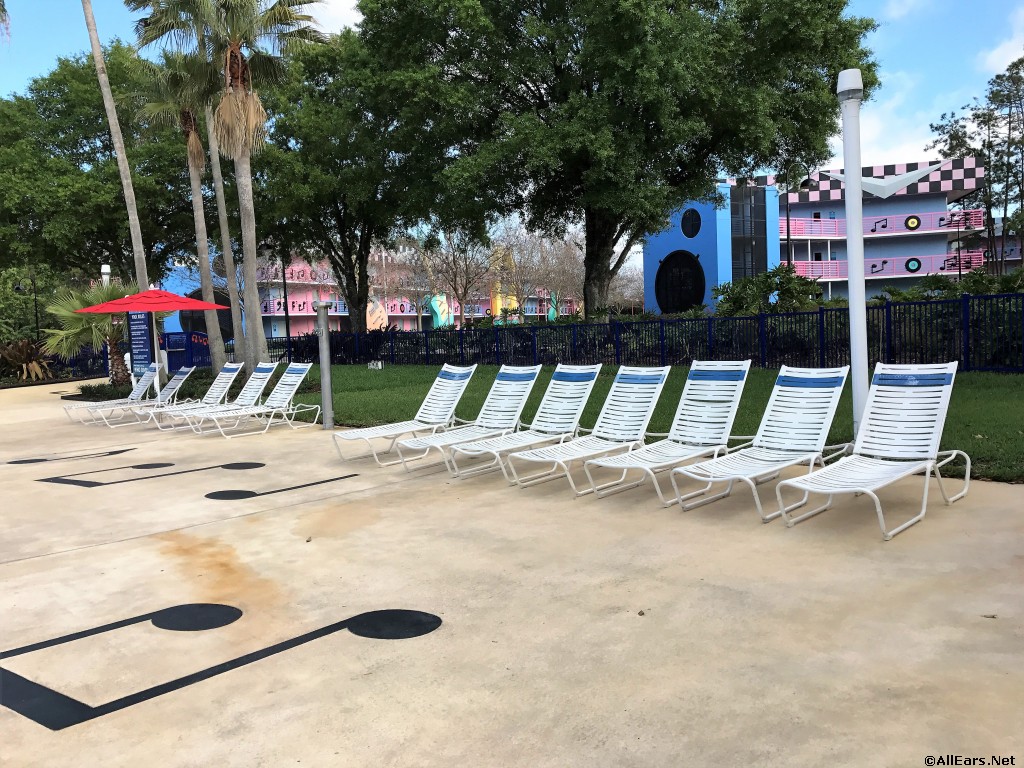
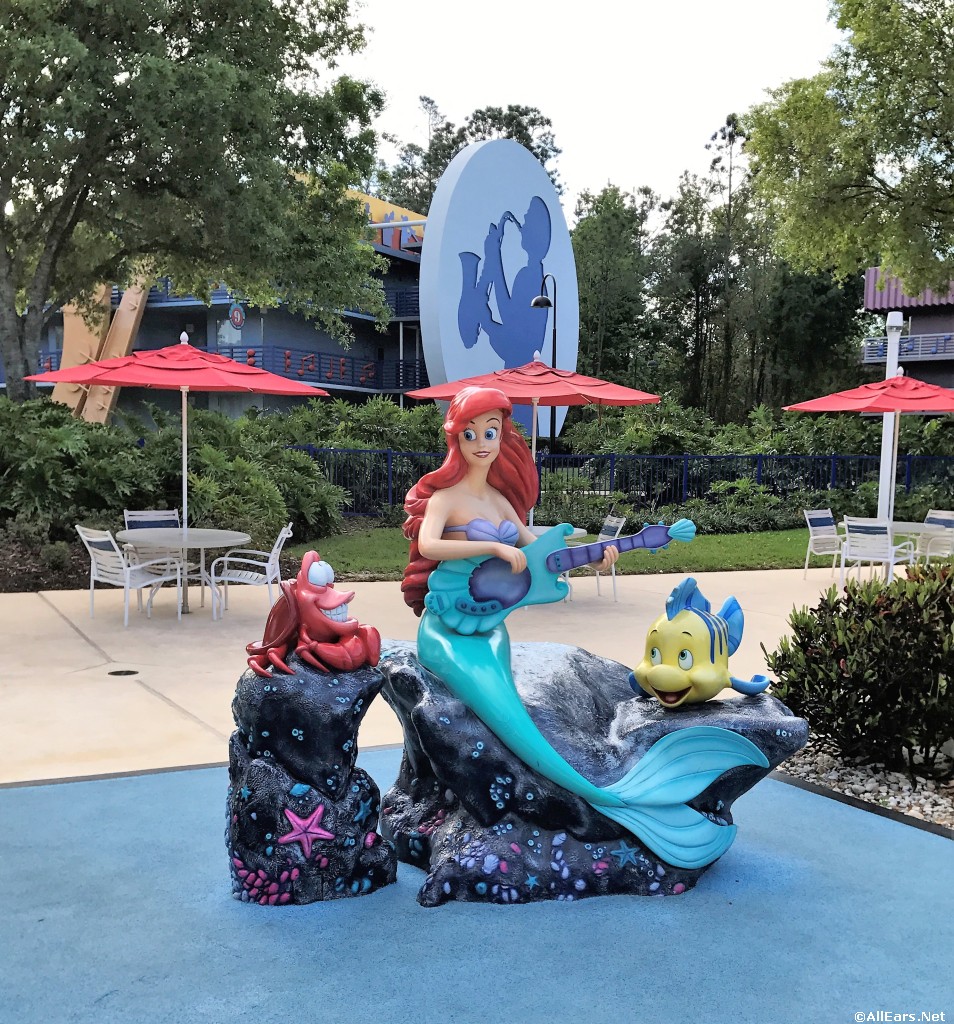
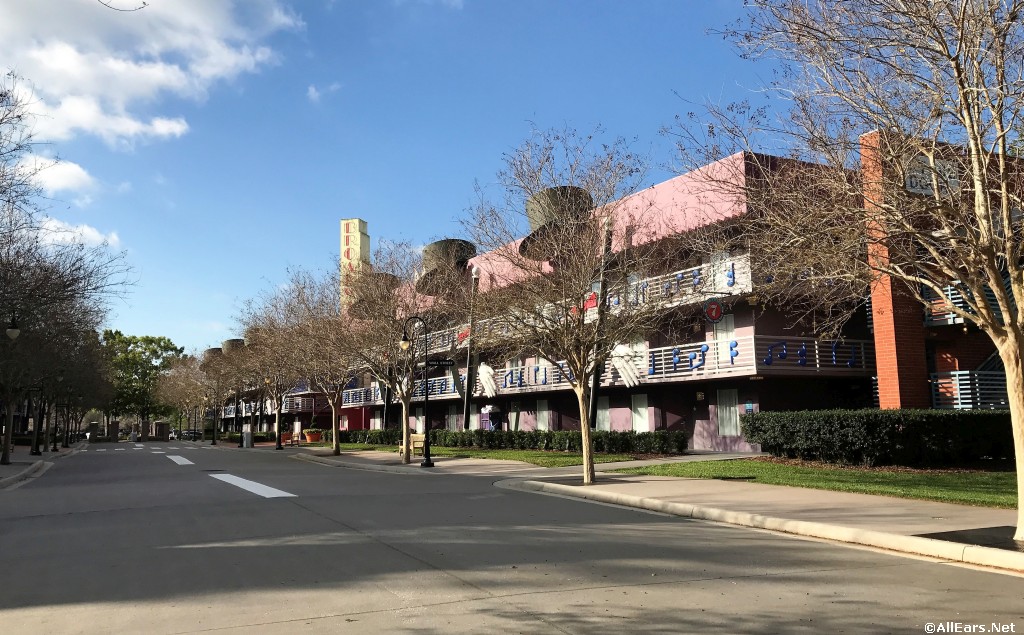
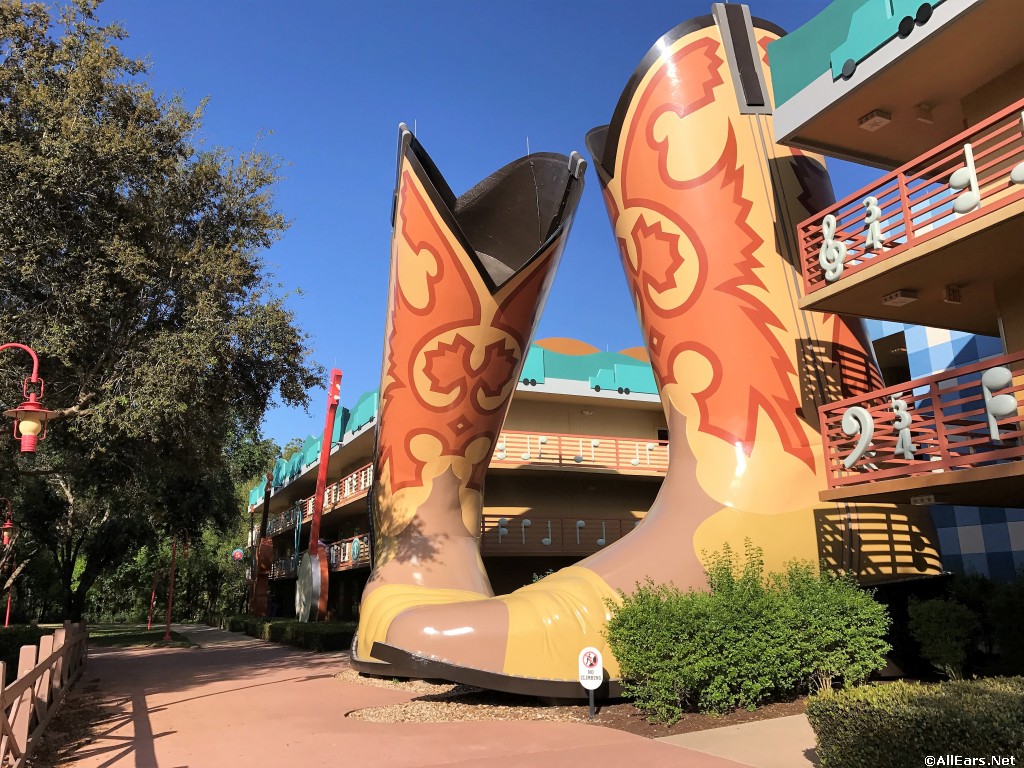
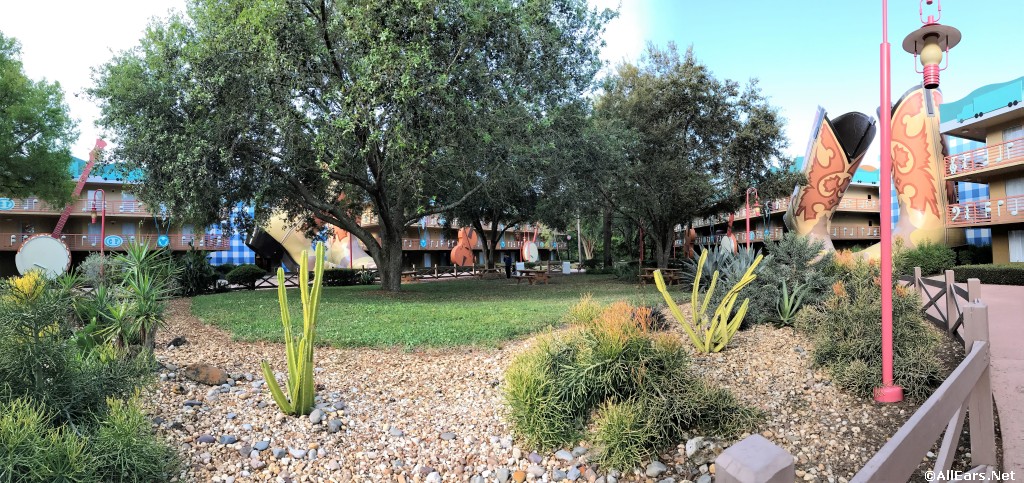
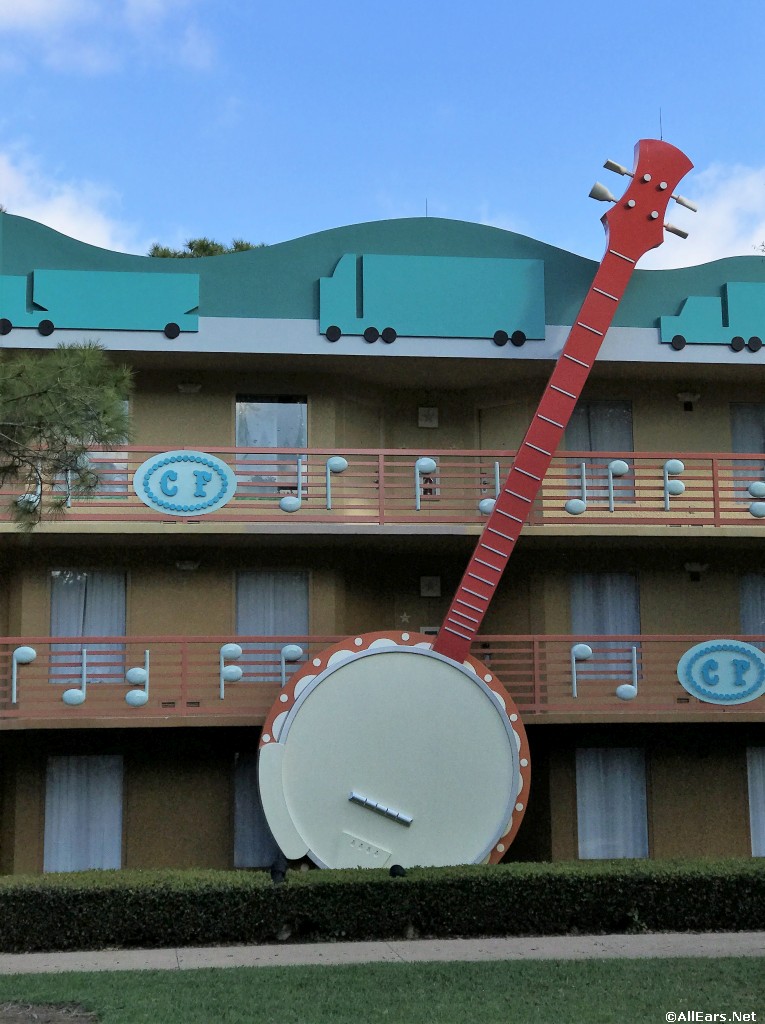
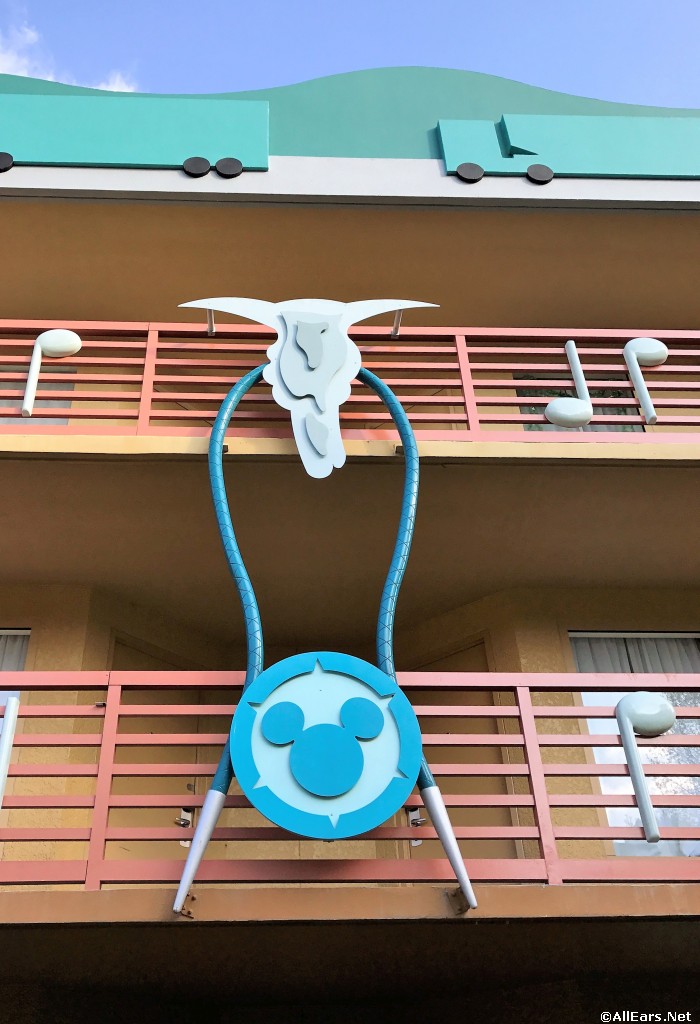
Calypso All Star Music

Calypso All Star Music
Calypso All Star Music
Calypso All Star Music
Calypso All Star Music
Calypso All Star Music
Calypso All Star Music
Calypso All Star Music
Calypso All Star Music
Calypso All Star Music
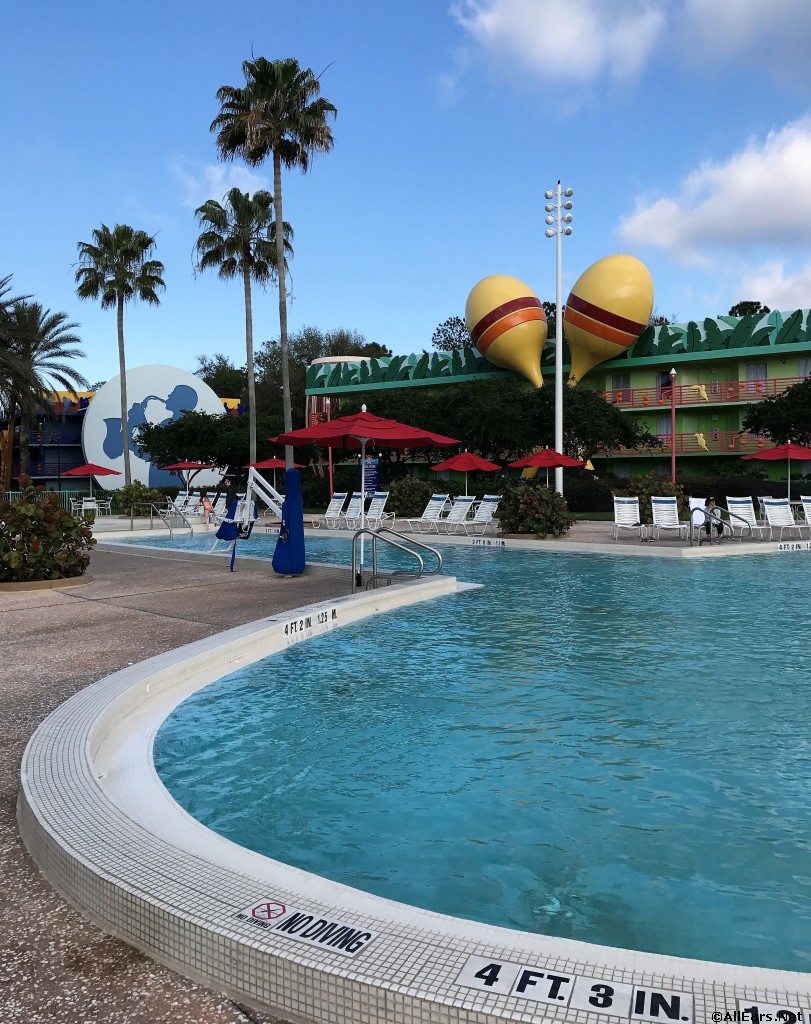
Calypso All Star Music
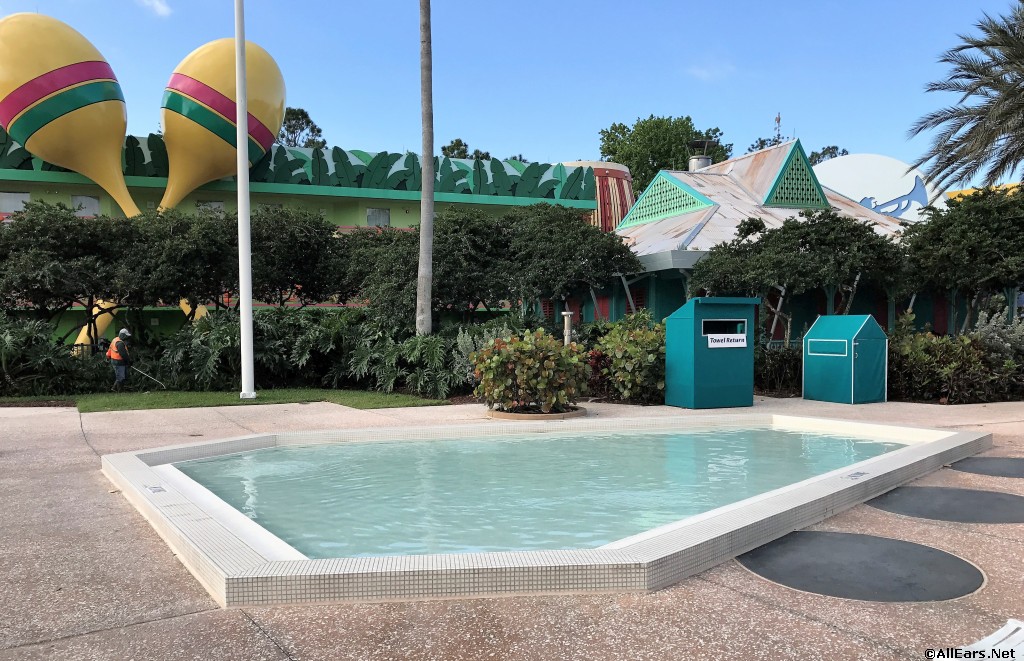
Calypso All Star Music
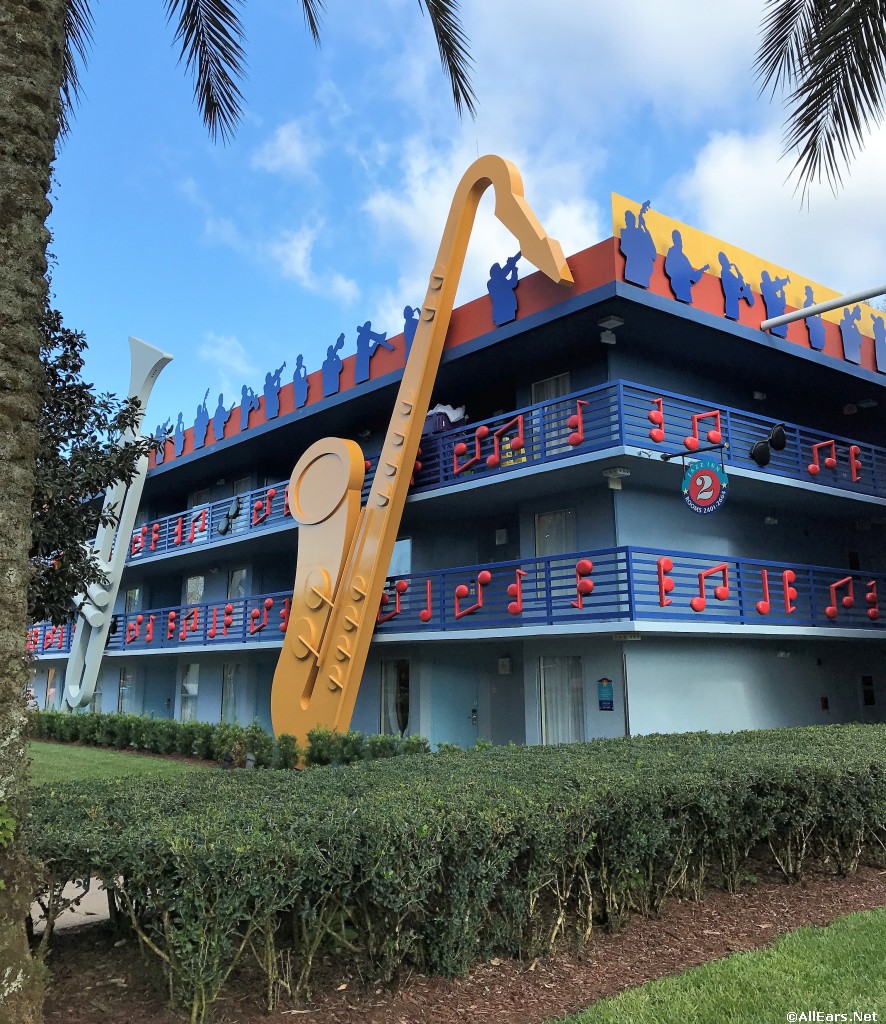
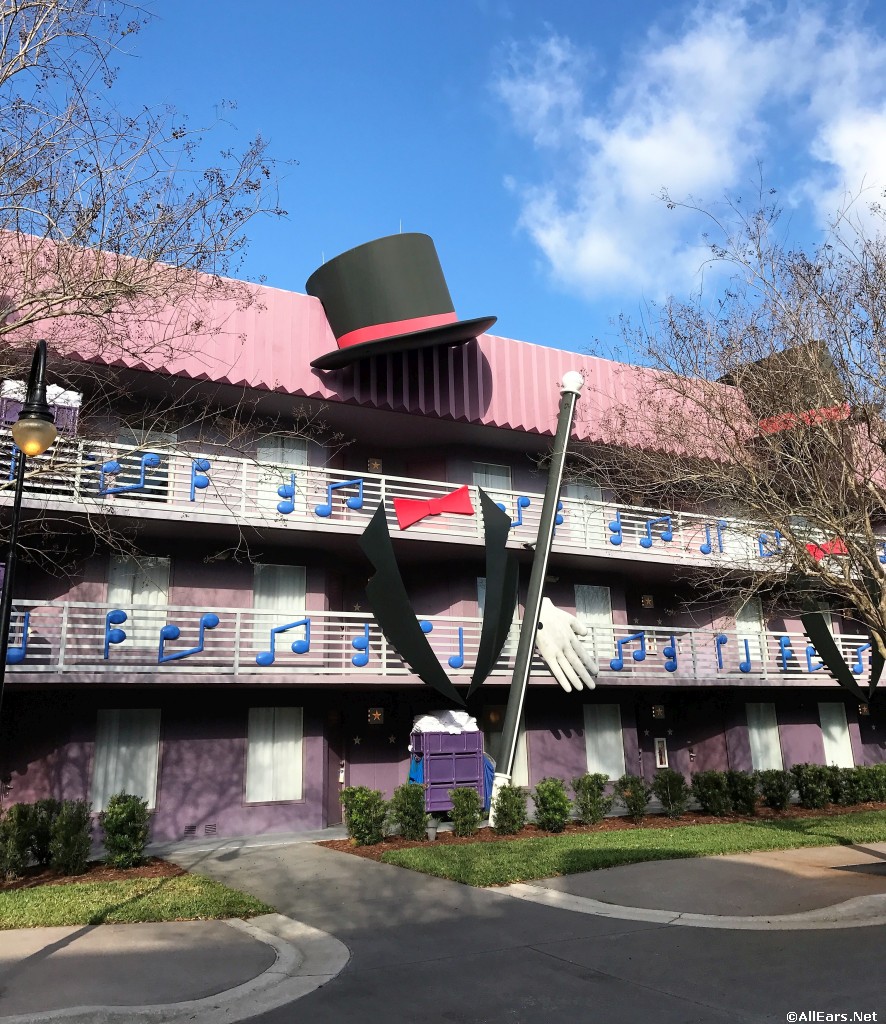
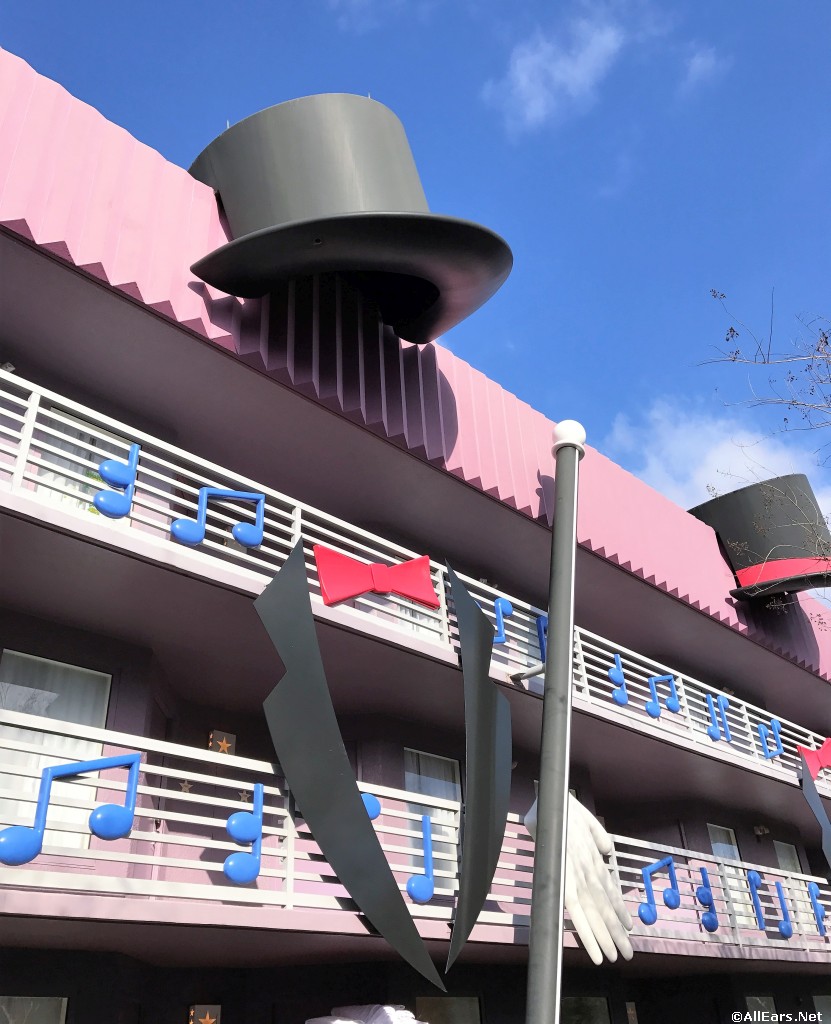
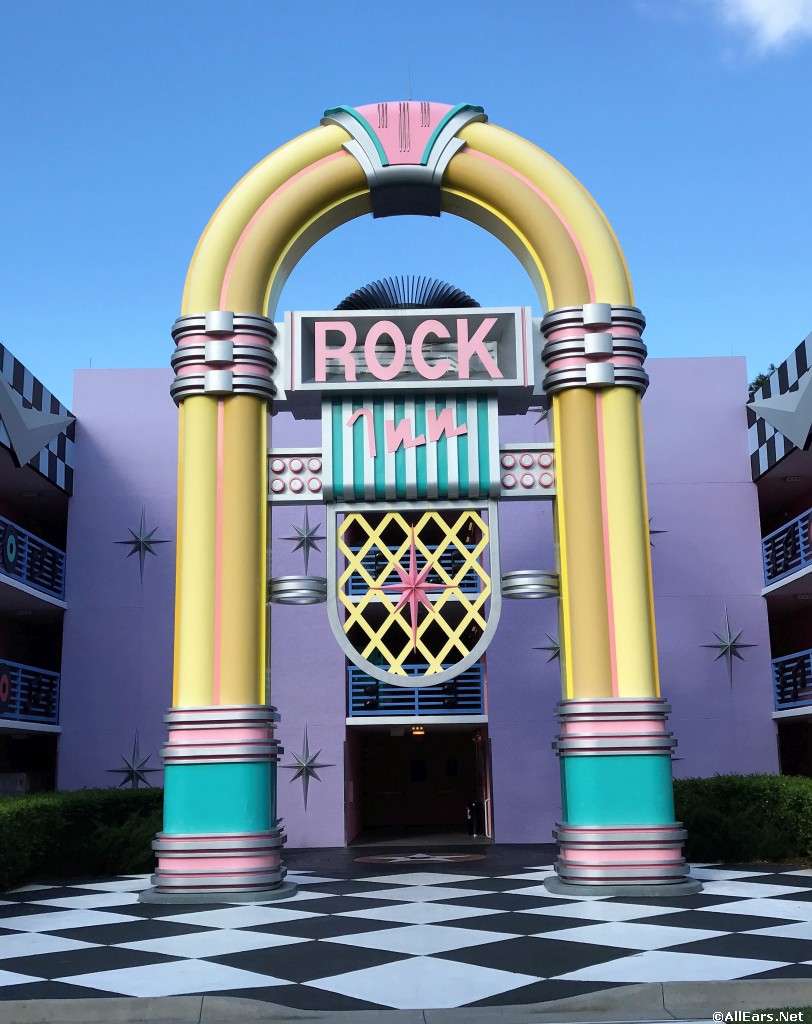
Jazz Inn All Star Music Resort
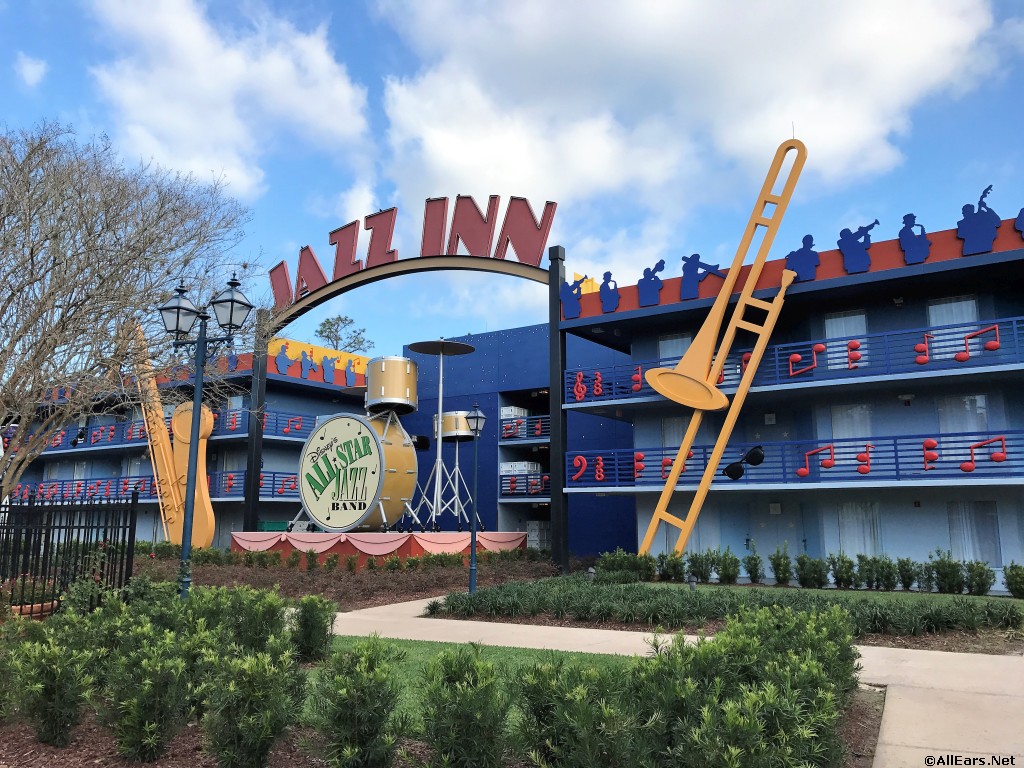
Jazz Inn All Star Music Resort
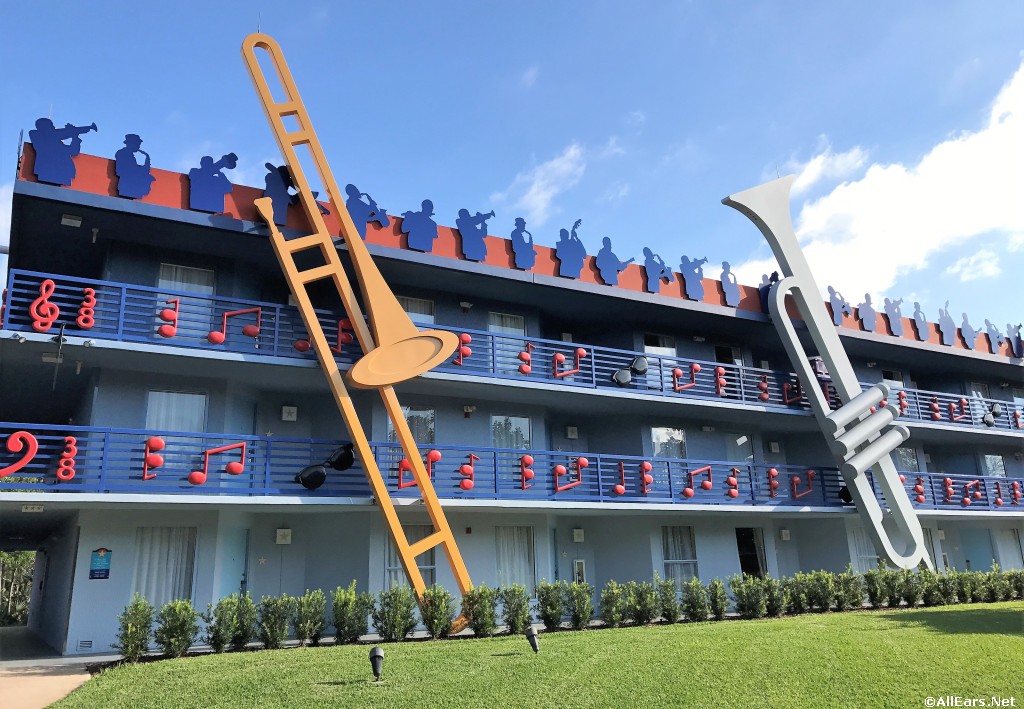
Jazz Inn All Star Music Resort
Jazz Inn All Star Music Resort
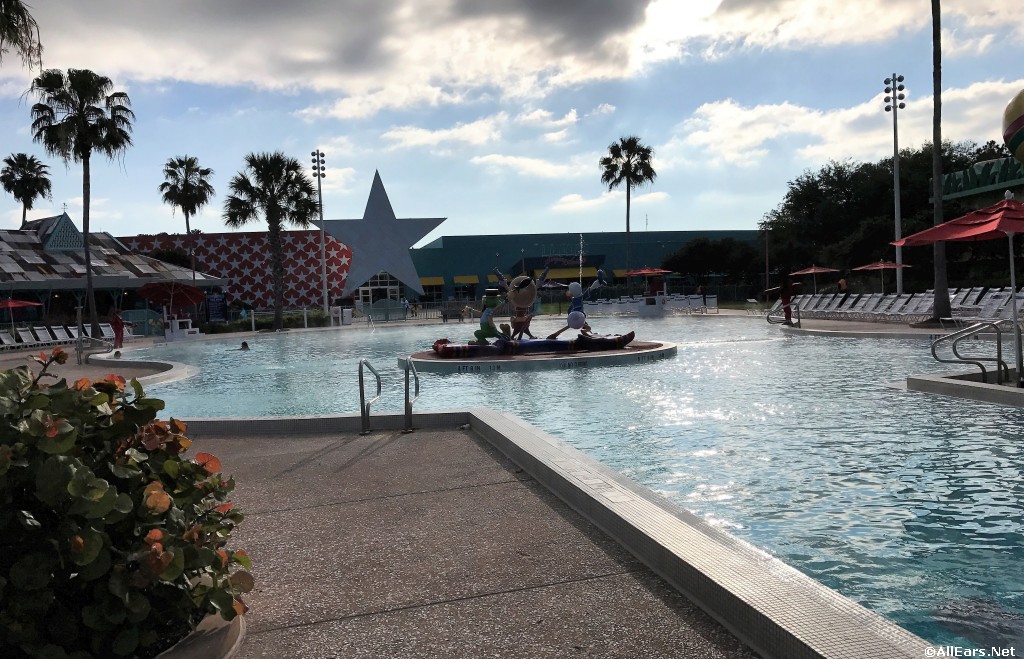
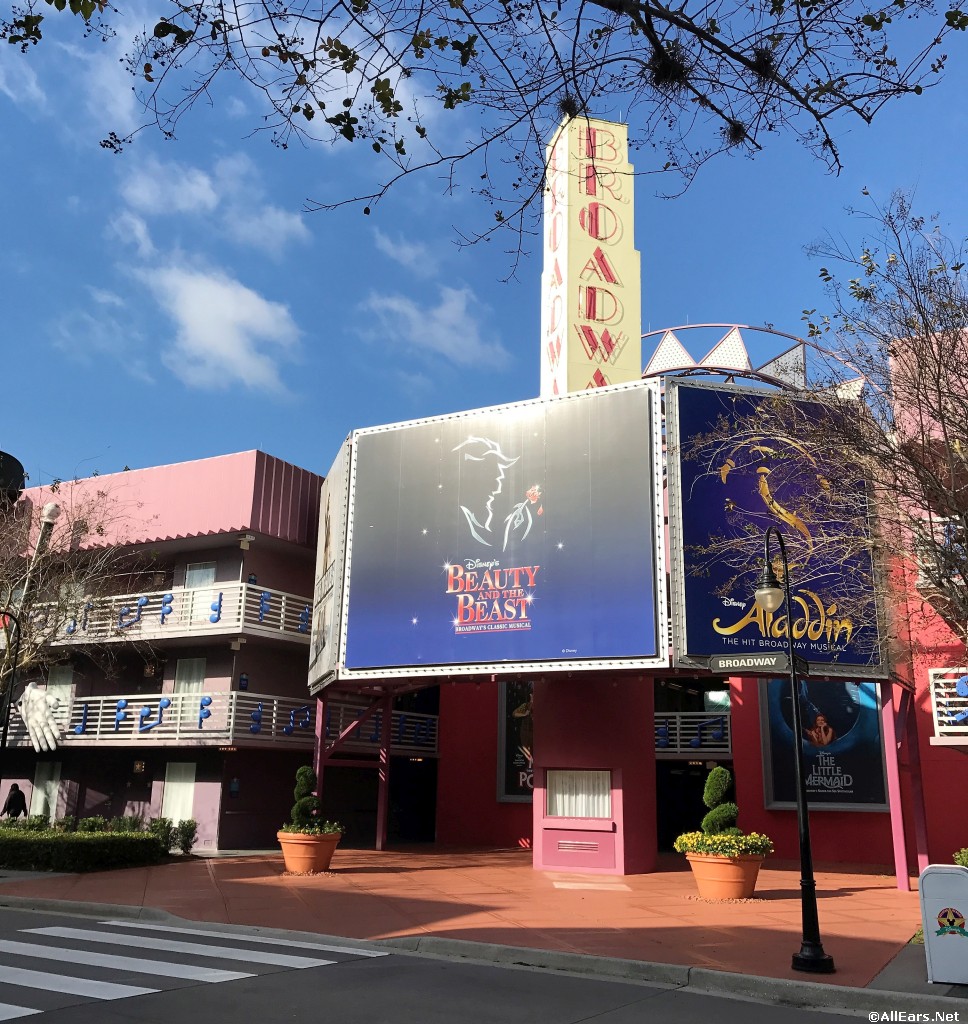
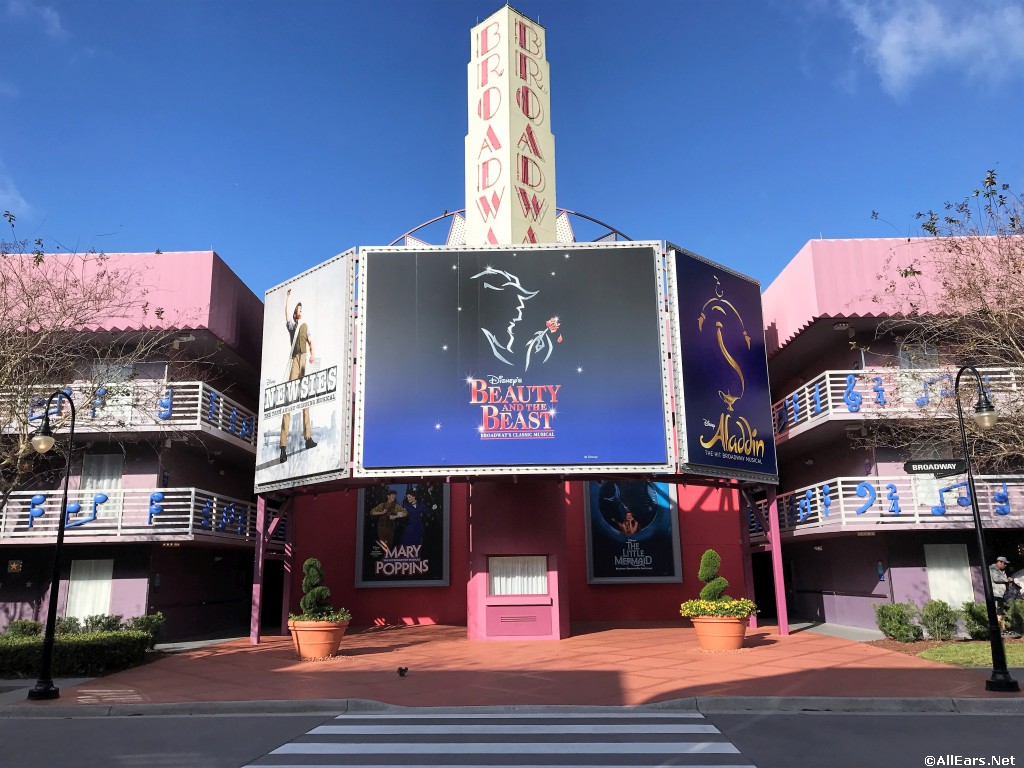
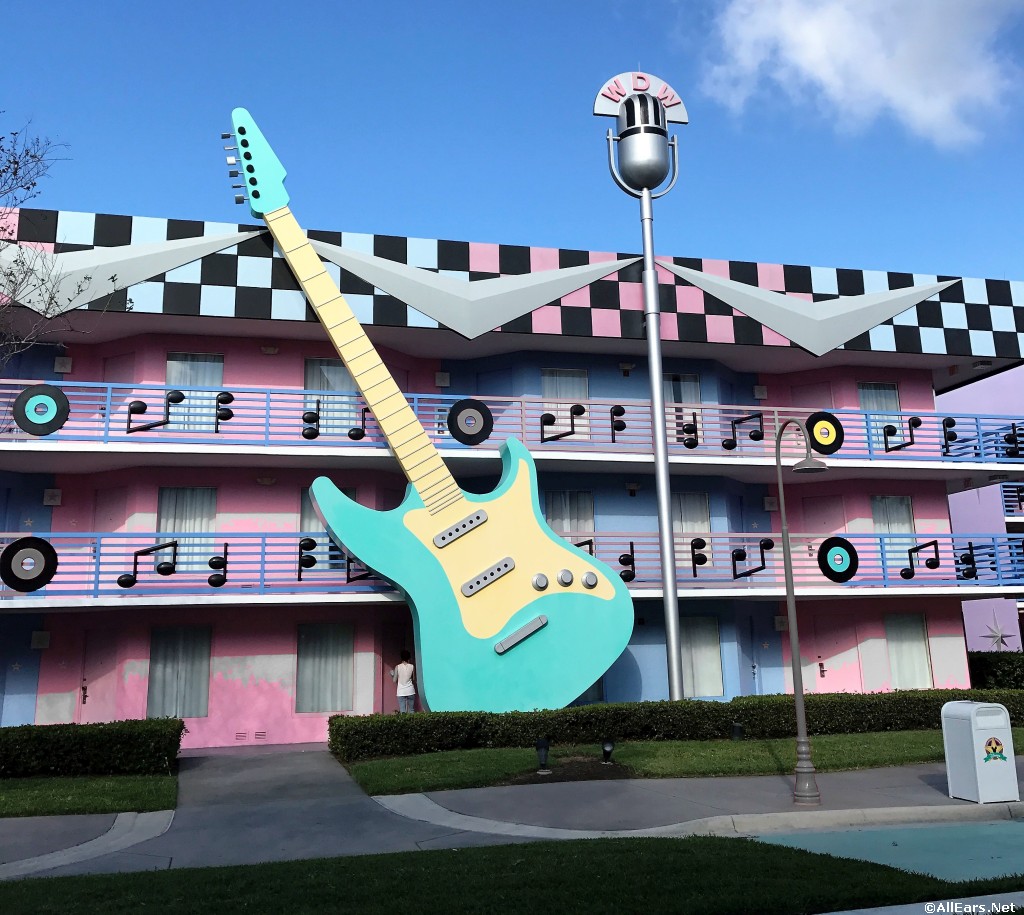
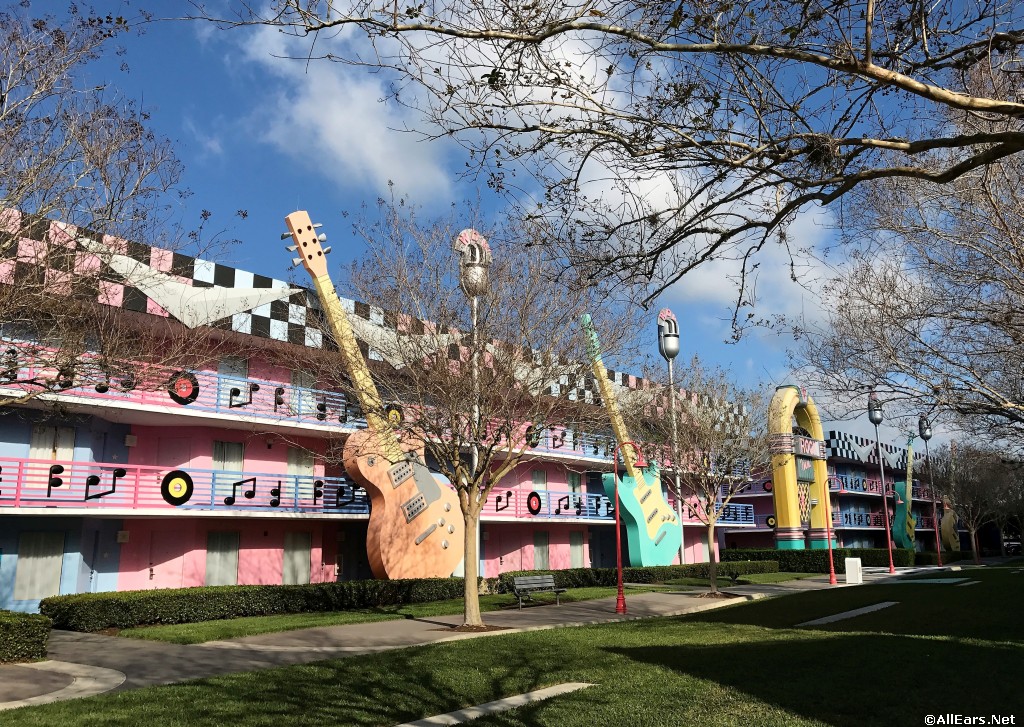
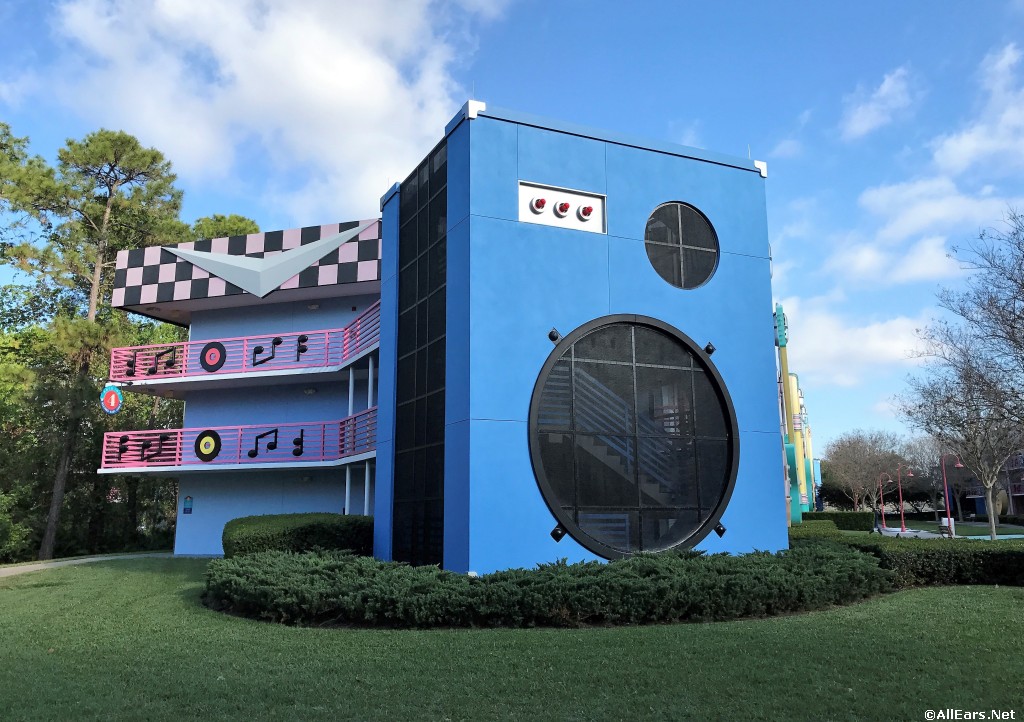
All Star Music Resort
All Star Music Resort
All Star Music Resort

All Star Music Resort
All Star Music Resort
All Star Music Resort
All Star Music Resort
All Star Music Resort
All Star Music Resort
All Star Music Resort
All Star Music Resort
All Star Music Resort
All Star Music Resort
All Star Music Resort
All Star Music Resort
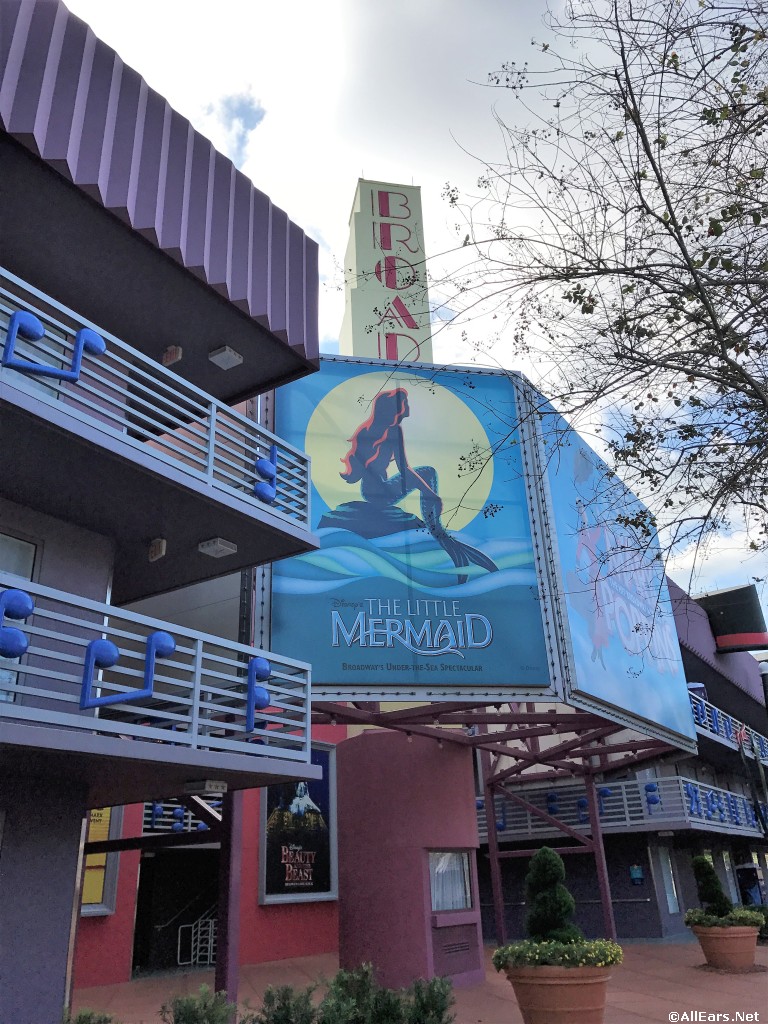
All Star Music Resort
All Star Music Resort
All Star Music Resort
All Star Music Resort
All Star Music Resort
All Star Music Resort
All Star Music Resort
All Star Music Resort
All Star Music Resort
All Star Music Resort
All Star Music Resort
All Star Music Resort
All Star Music Resort
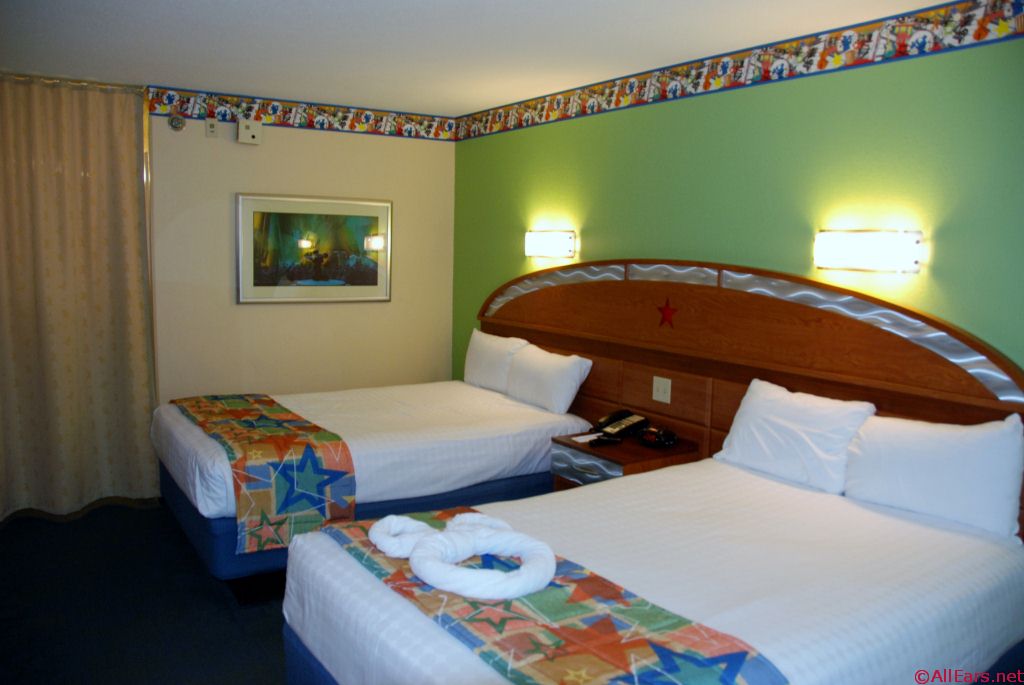
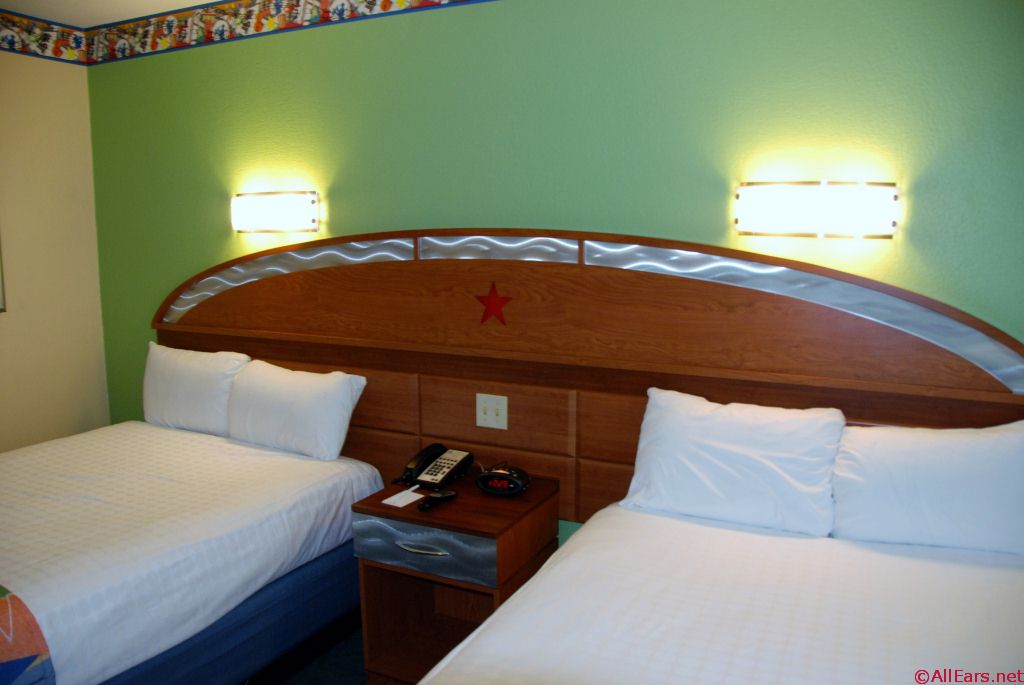
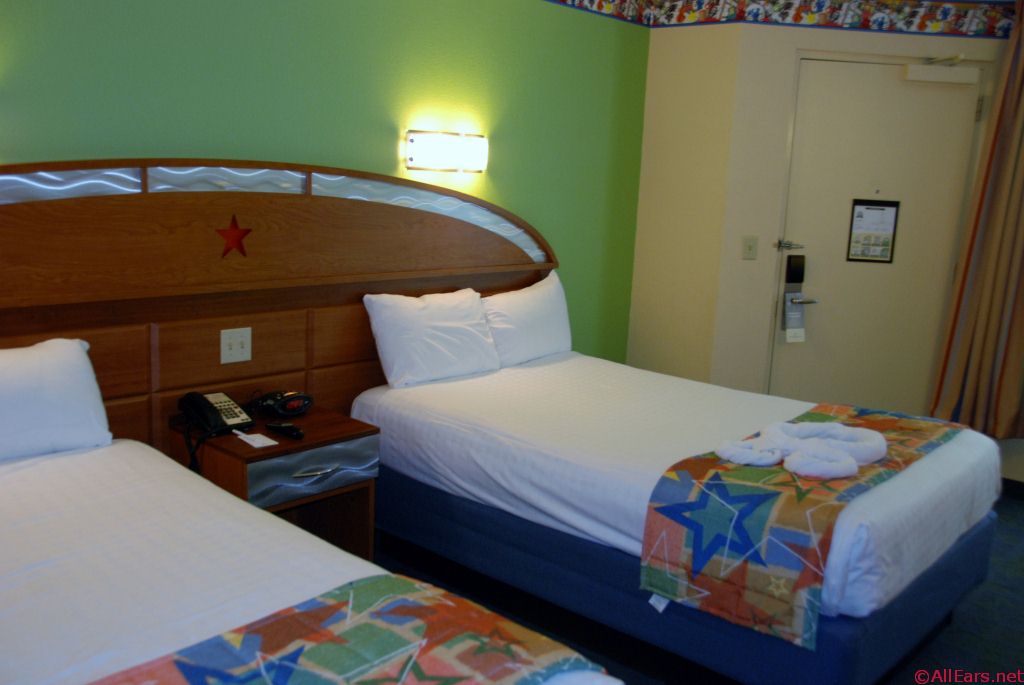
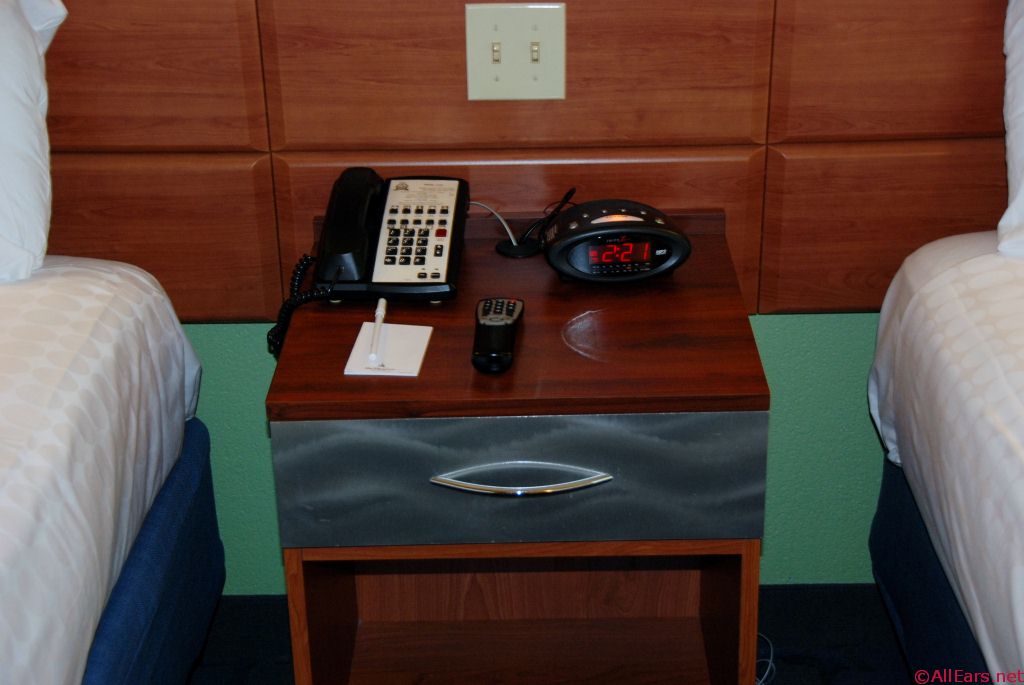
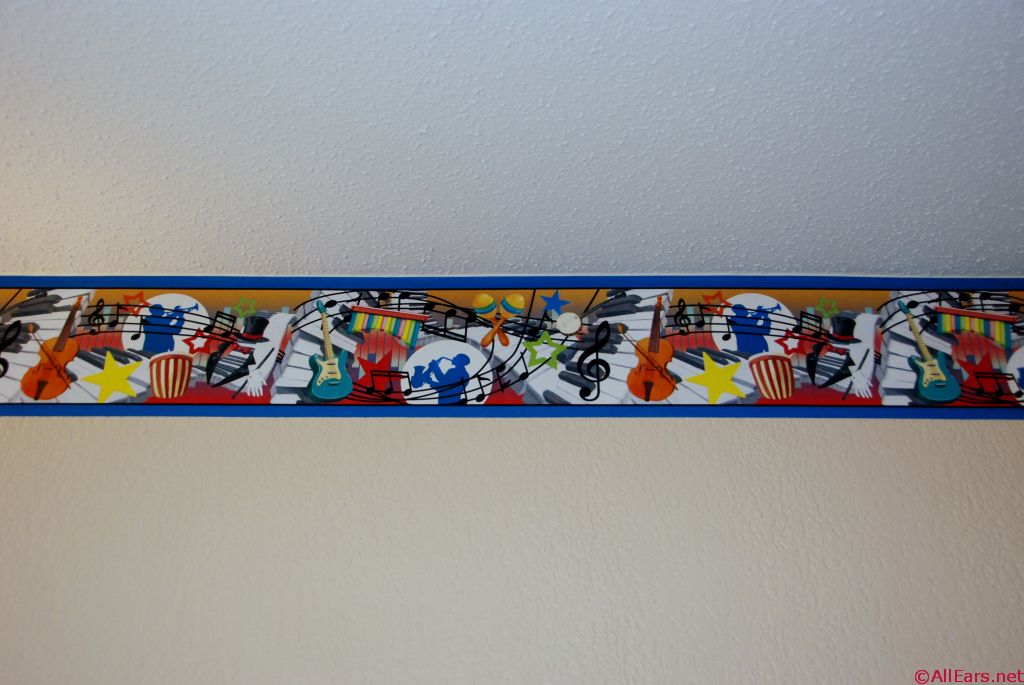
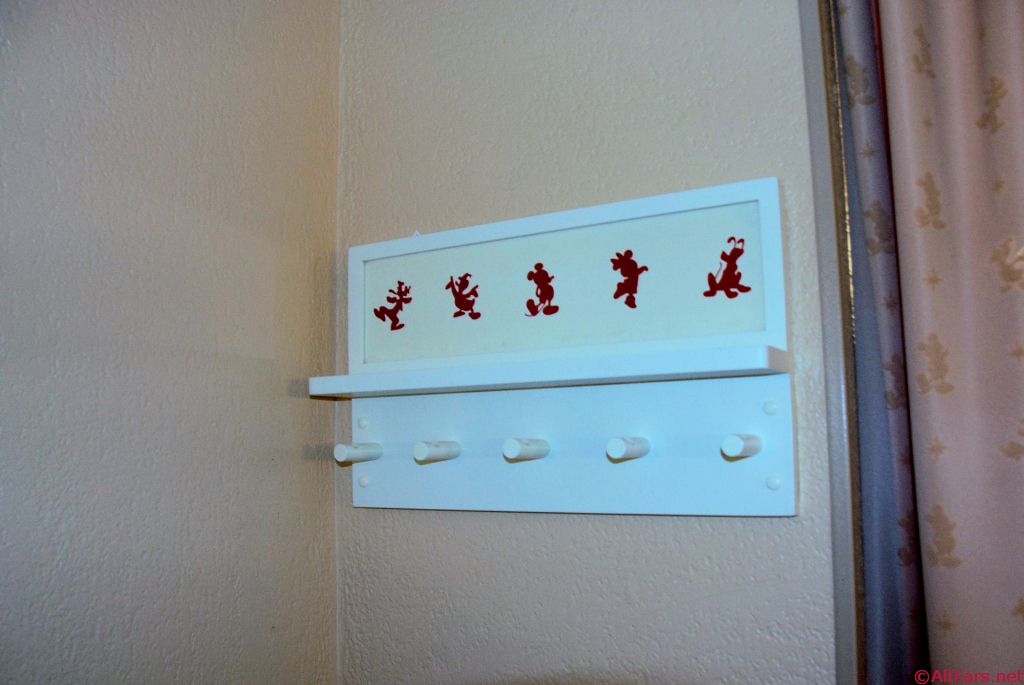
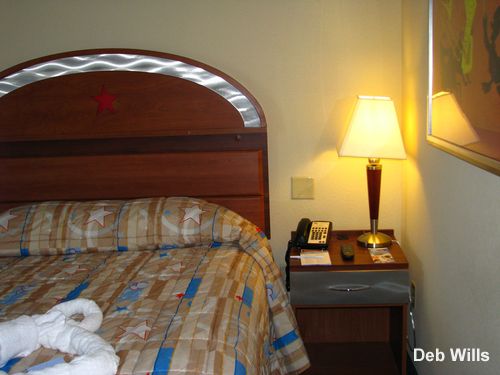
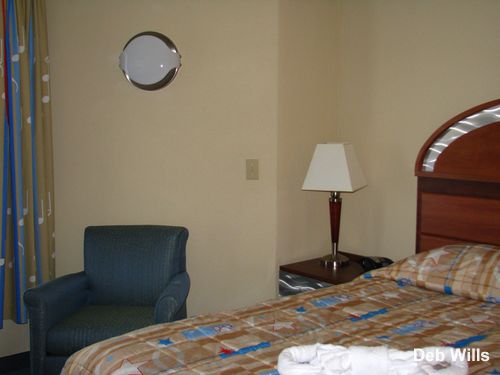
All Star Music Room
All Star Music Room
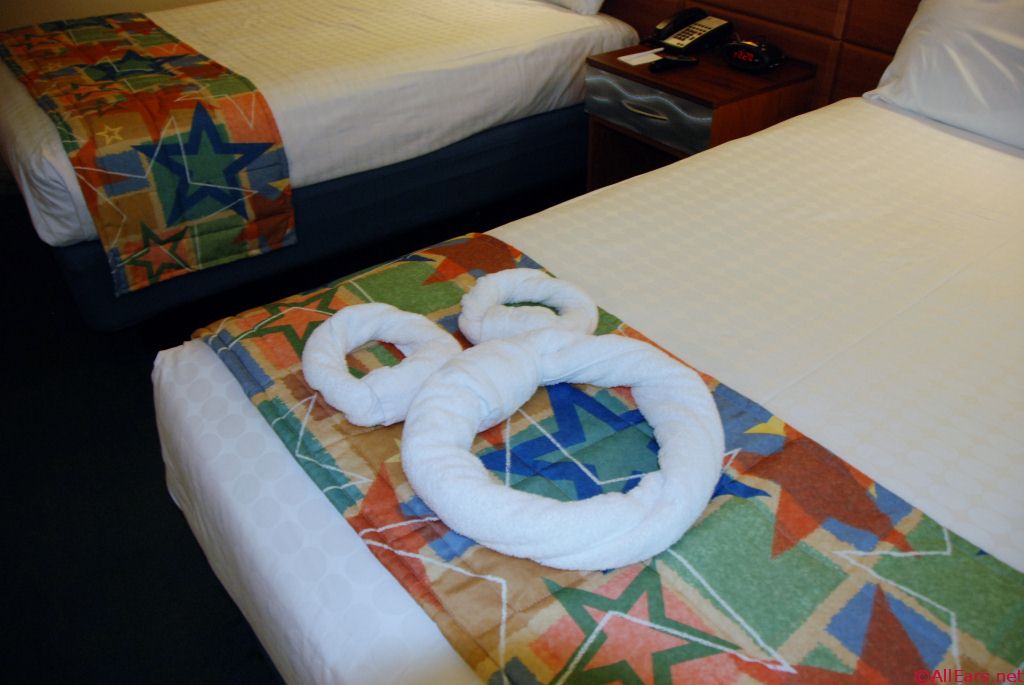
All Star Music Room
All Star Music Room
All Star Music Room
All Star Music Room
All Star Music Room
All Star Music Room
All Star Music Room
All Star Music Room
All Star Music Room
All Star Music Room
All Star Music Room
All Star Music Room
All Star Music Room
All Star Music Room
All Star Music Room
All Star Music Room
All Star Music Room
All Star Music Room
All Star Music Room
All Star Music Room
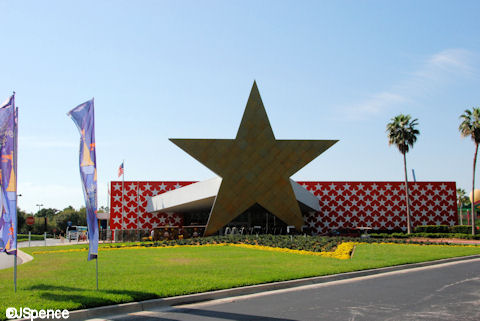
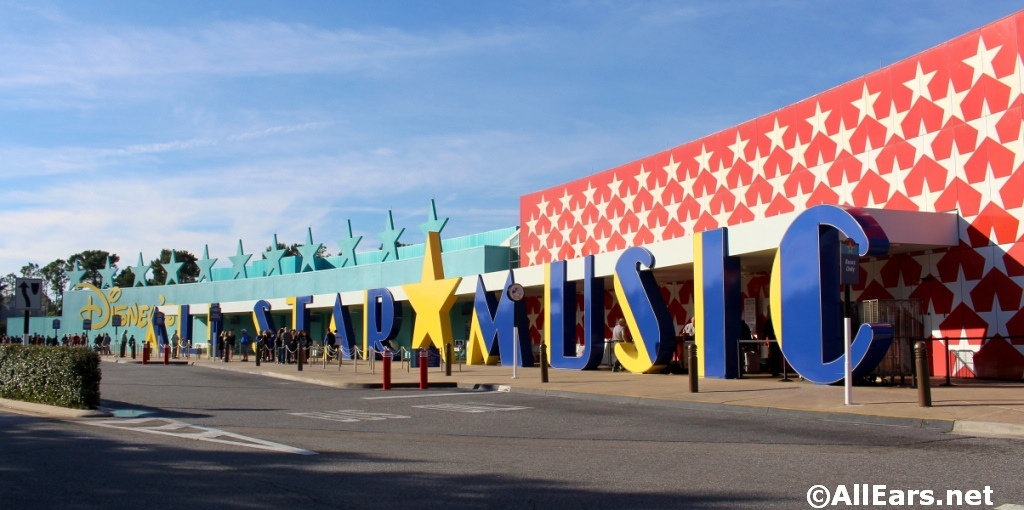
Entrance Sign

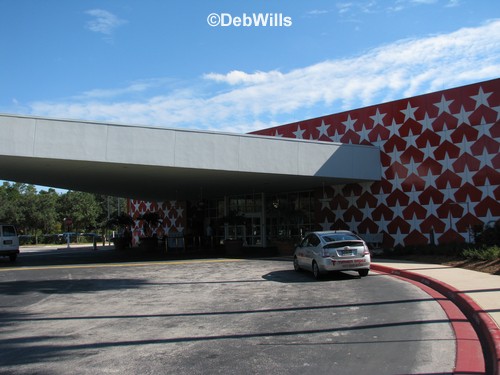
Approach to Drop-off Area
Drop-off Area
Bus Stop
Melody Hall Check-in Desk I
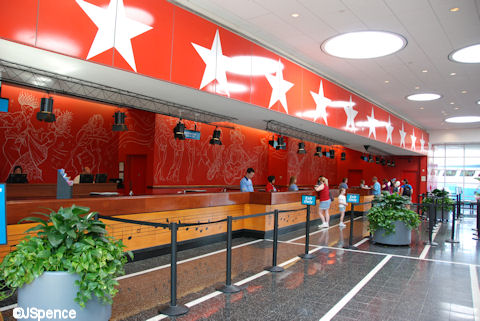
Melody Hall Check-in Desk II
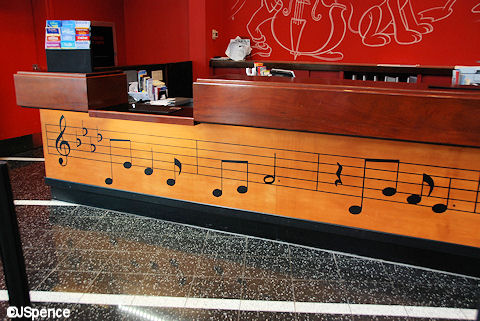
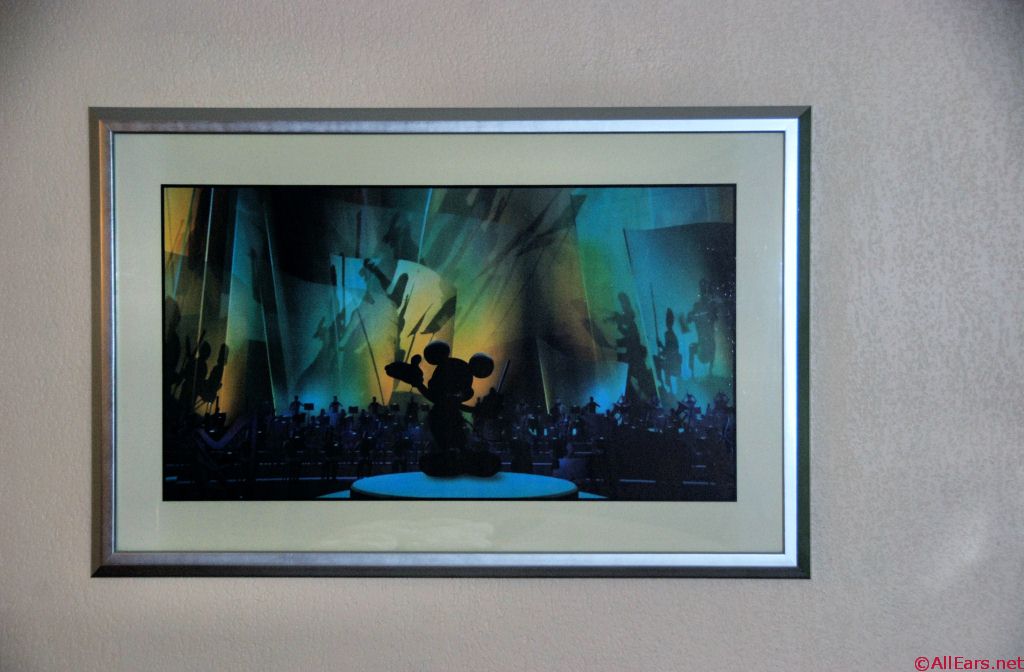
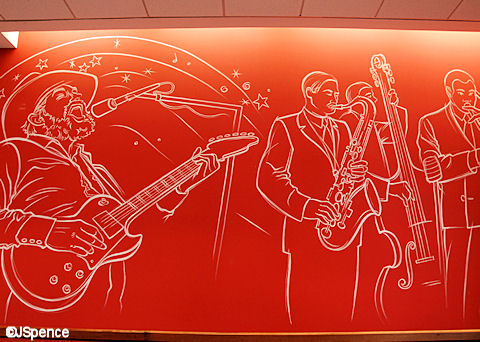
Check-in Desk Artwork I
Check-in Desk Artwork II
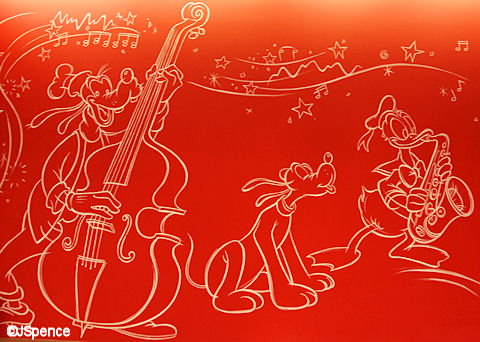
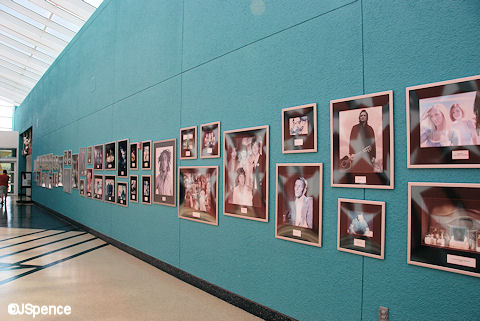
Wall of Music Stars in Melody Hall I

Wall of Music Stars in Melody Hall II
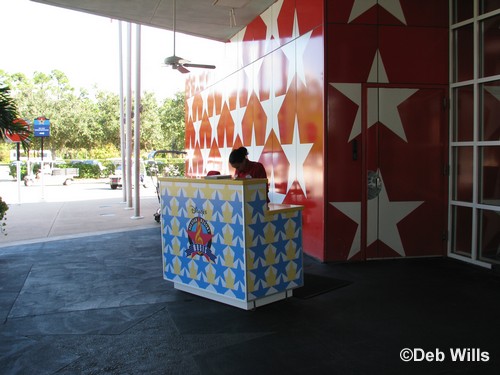
Luggage Assistance Kiosk
Exterior Hallway to Suite

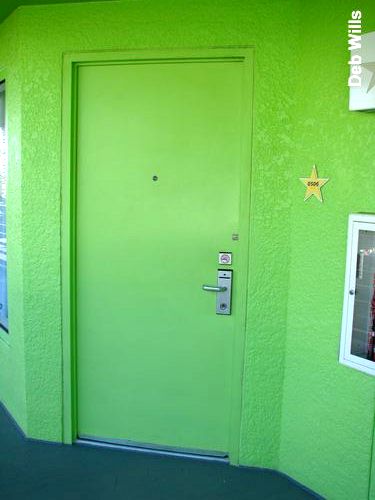
Entrance to Suite
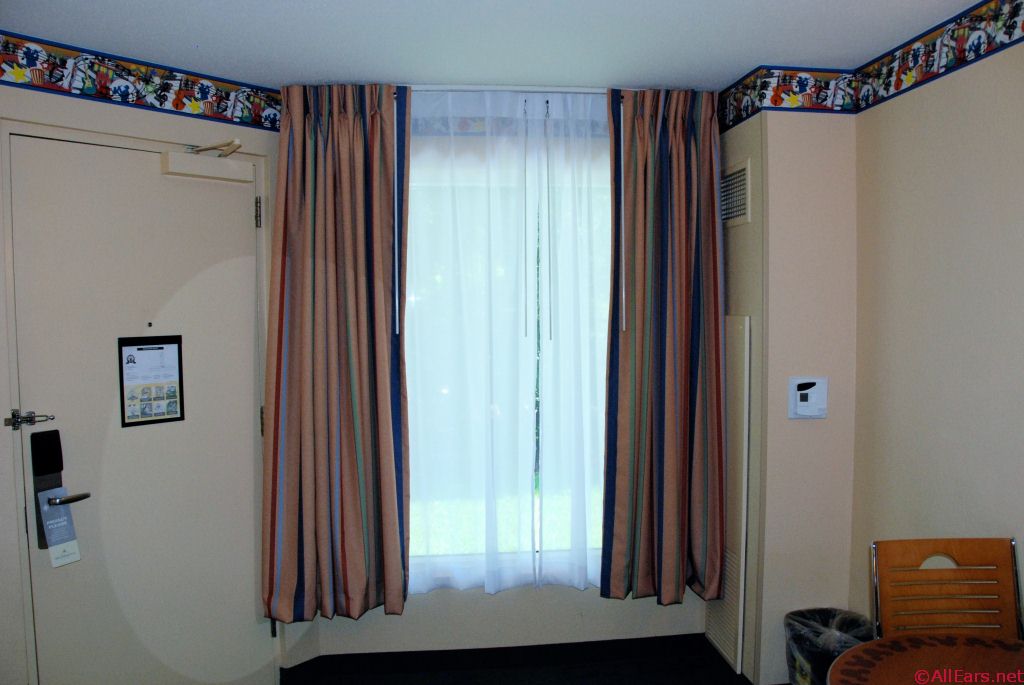
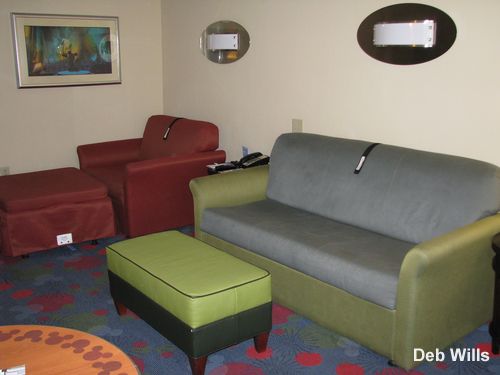
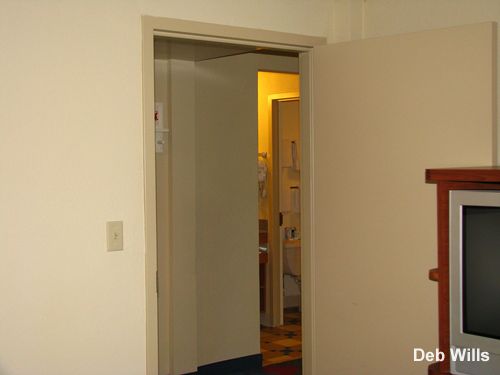
View from Doorway
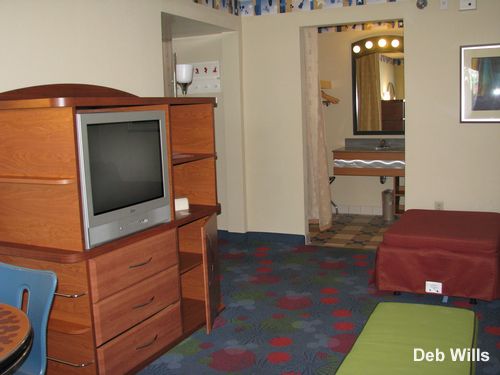
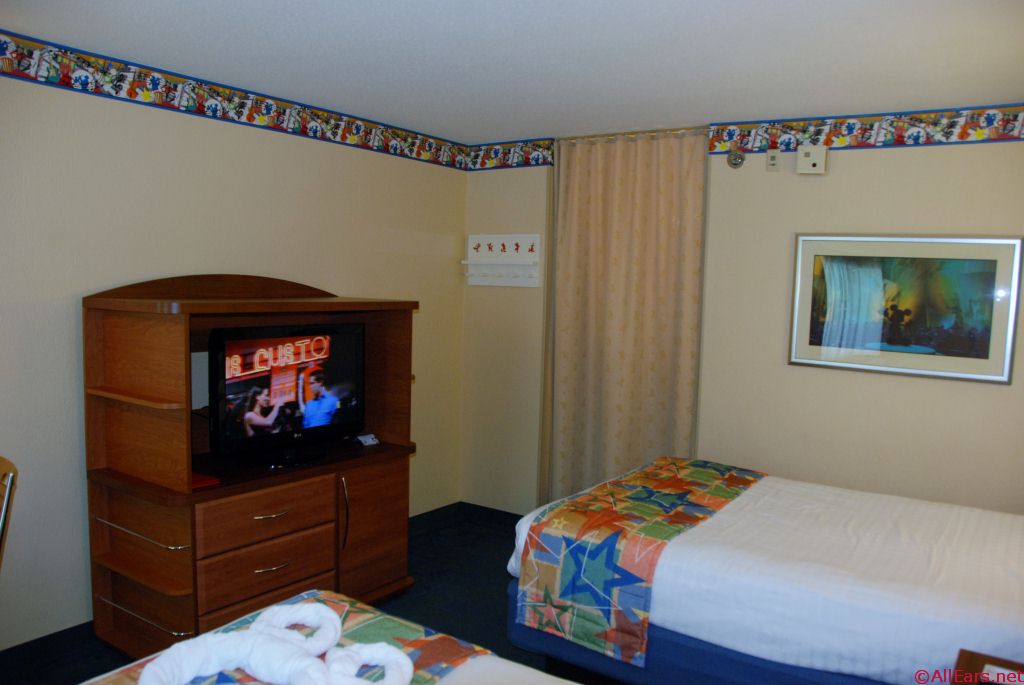
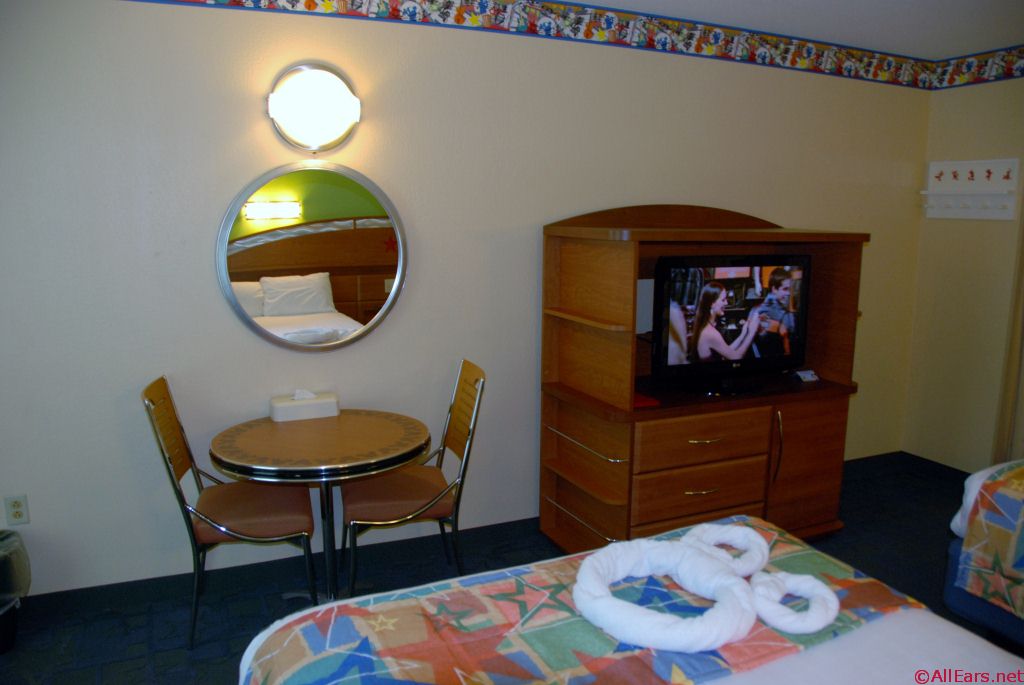
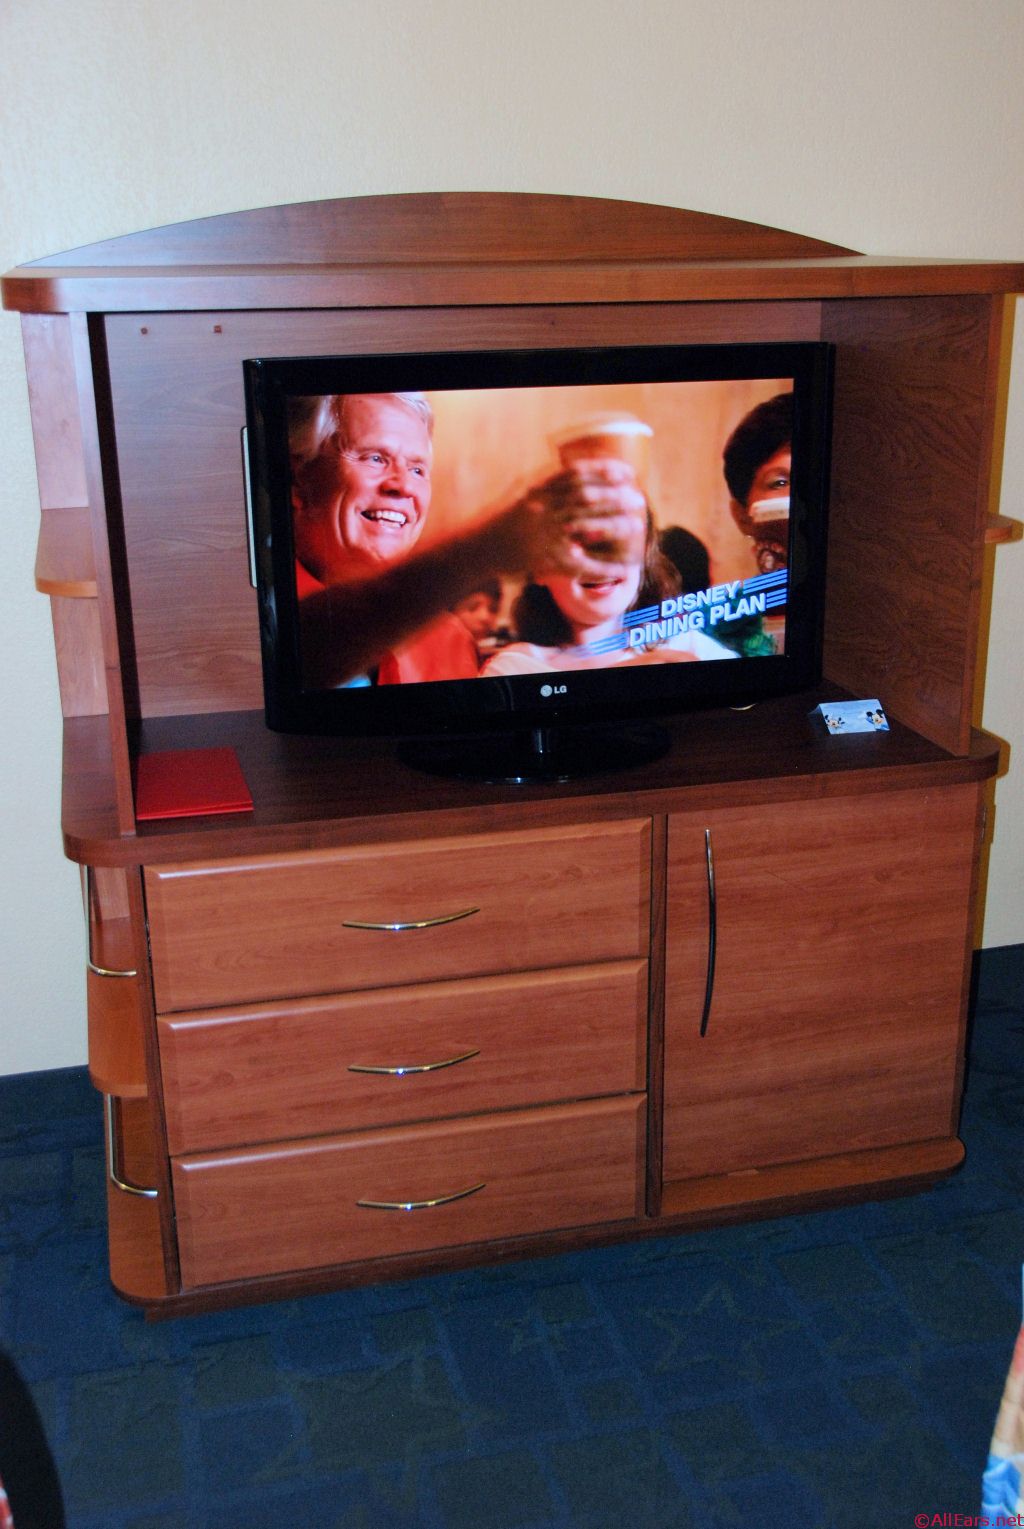
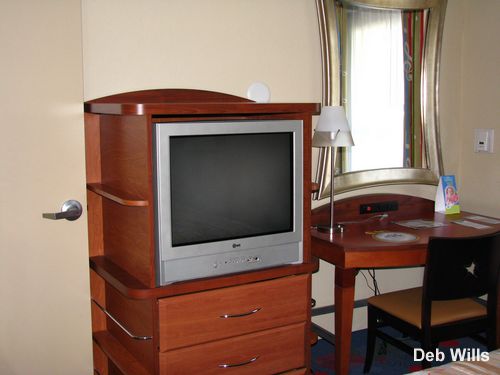
Table, Chairs and TV Dresser
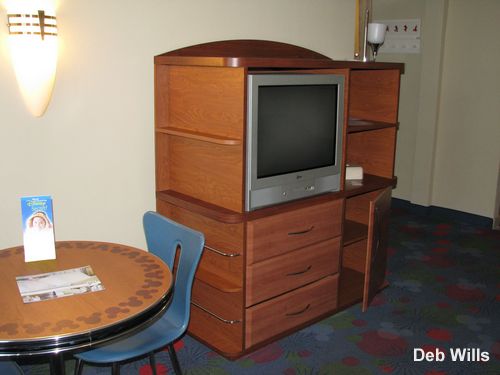
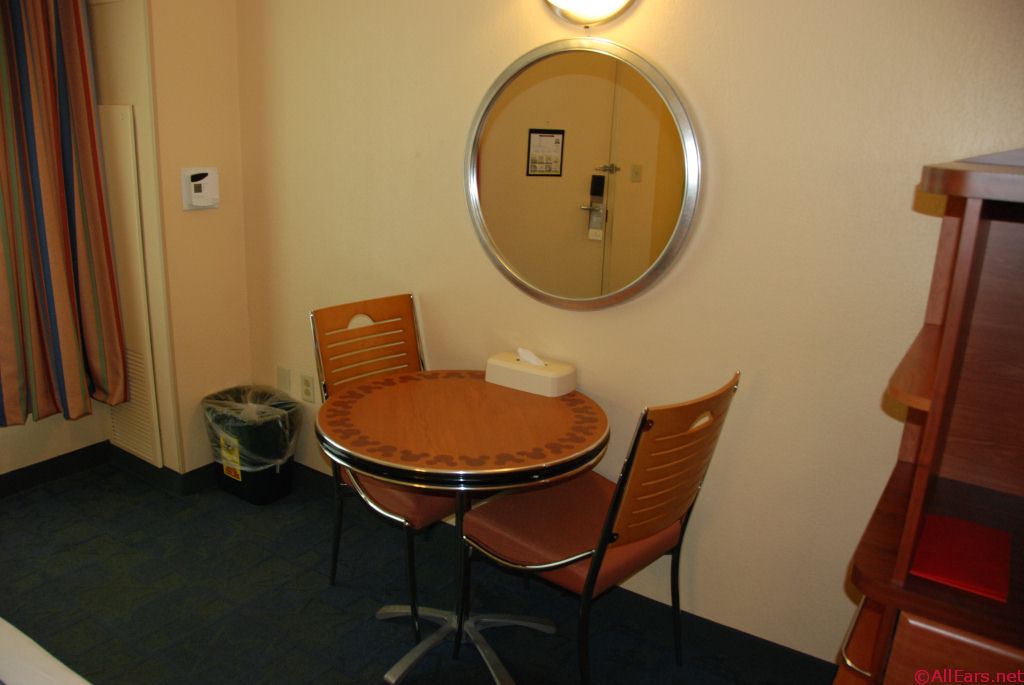
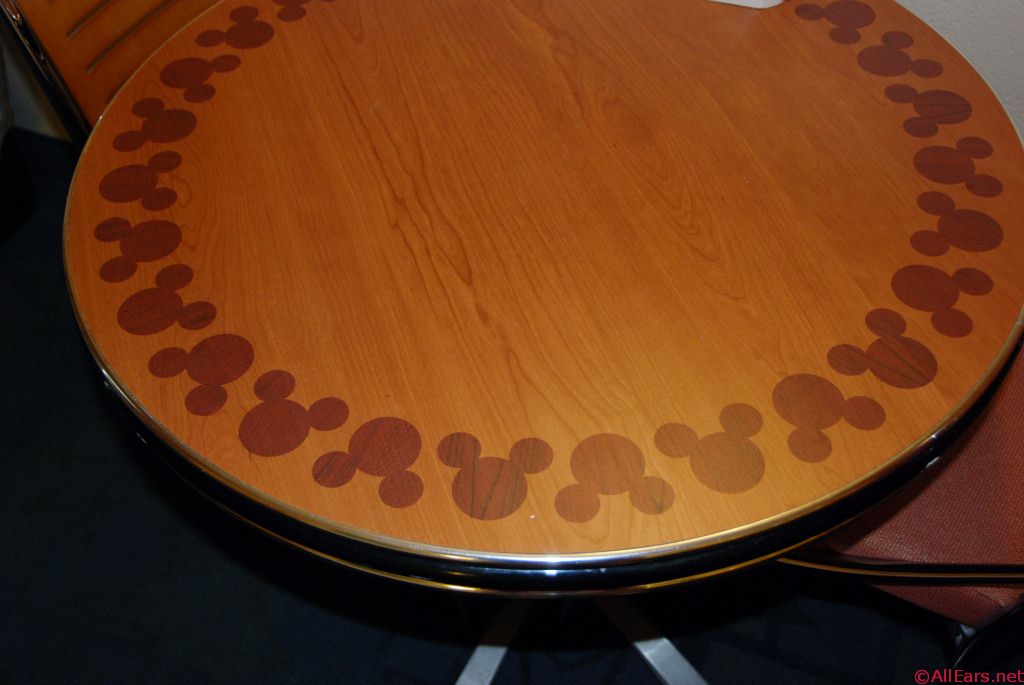
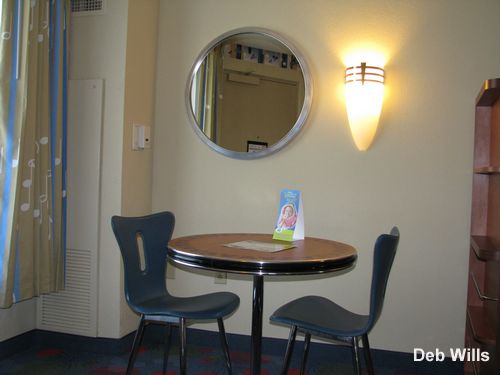
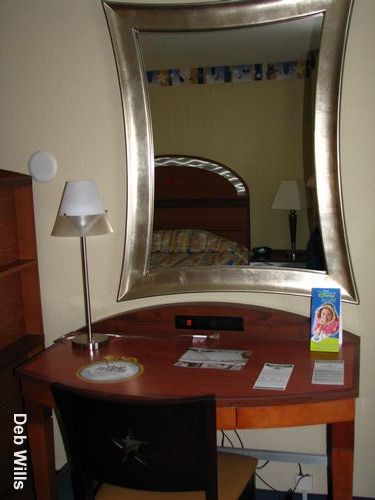
Table and 2 Chairs
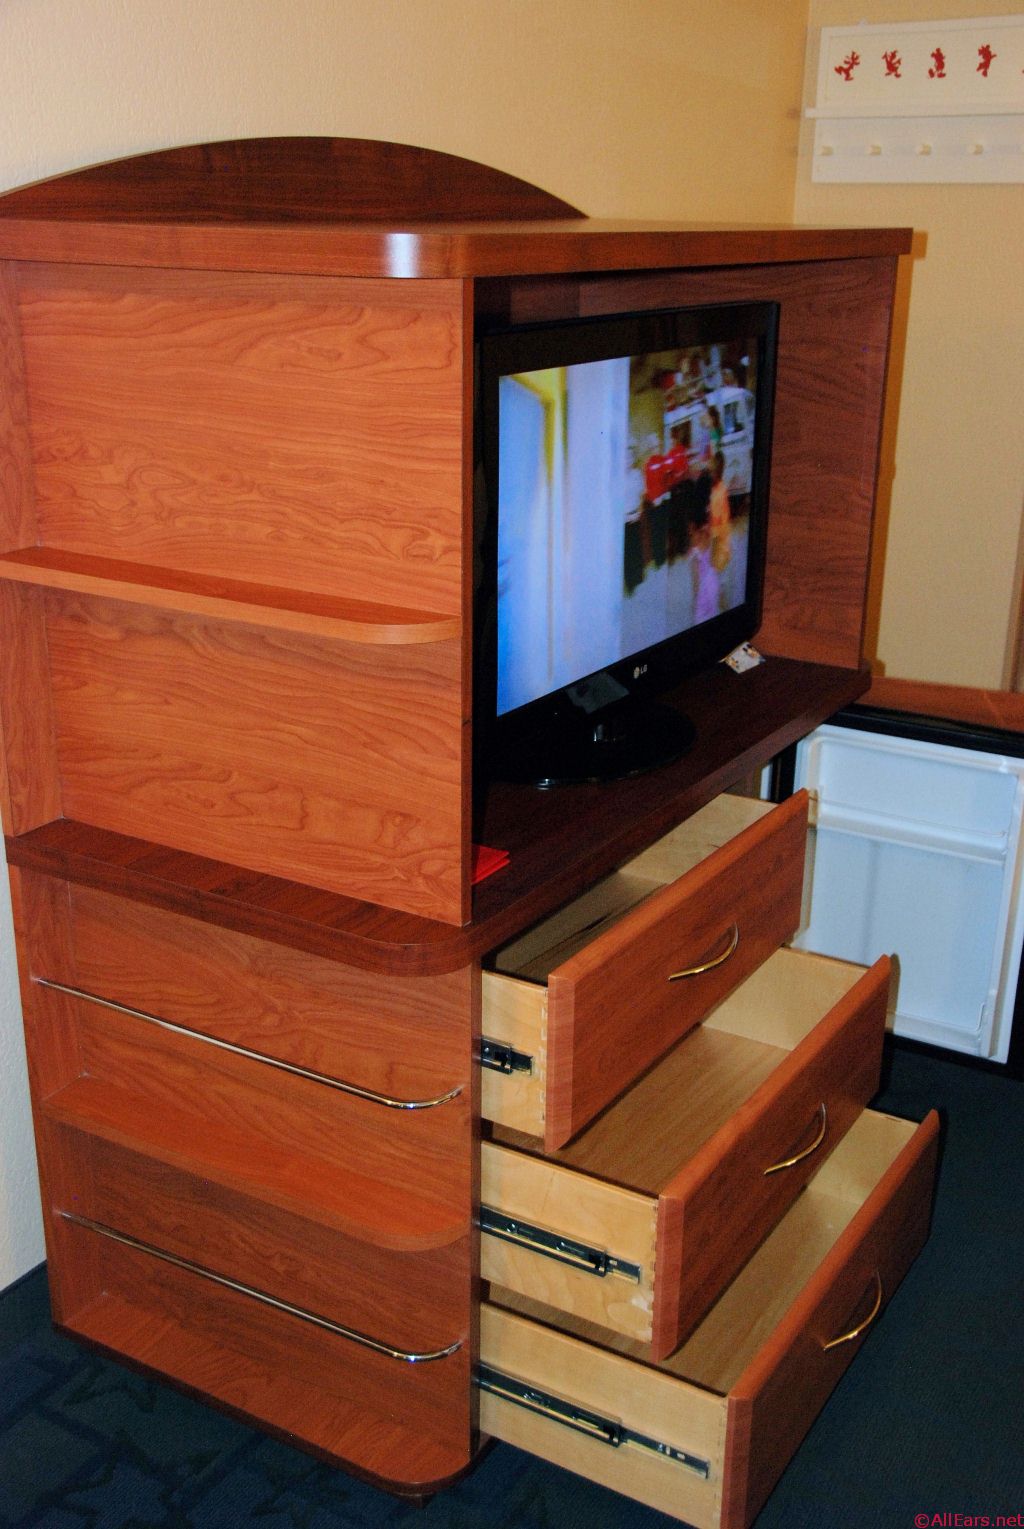
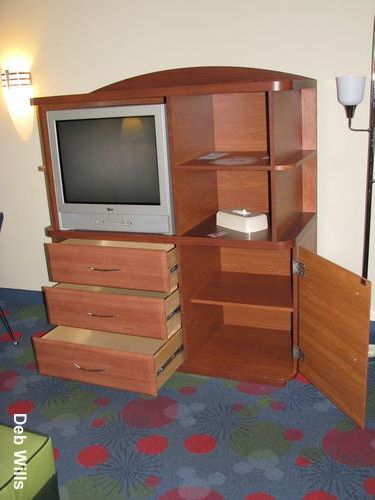
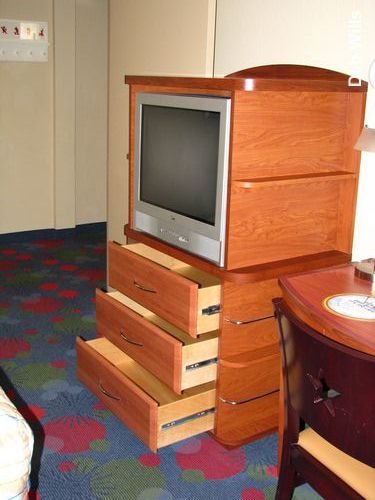
TV Dresser with Drawers Open
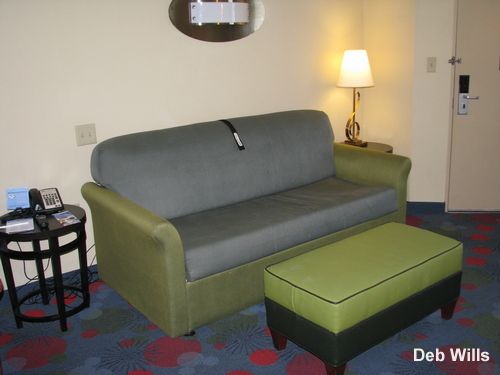
Another View from Doorway

Two Pullouts - A Single Bed and a Double Bed
Pullout Single Bed

Pullout Double Bed
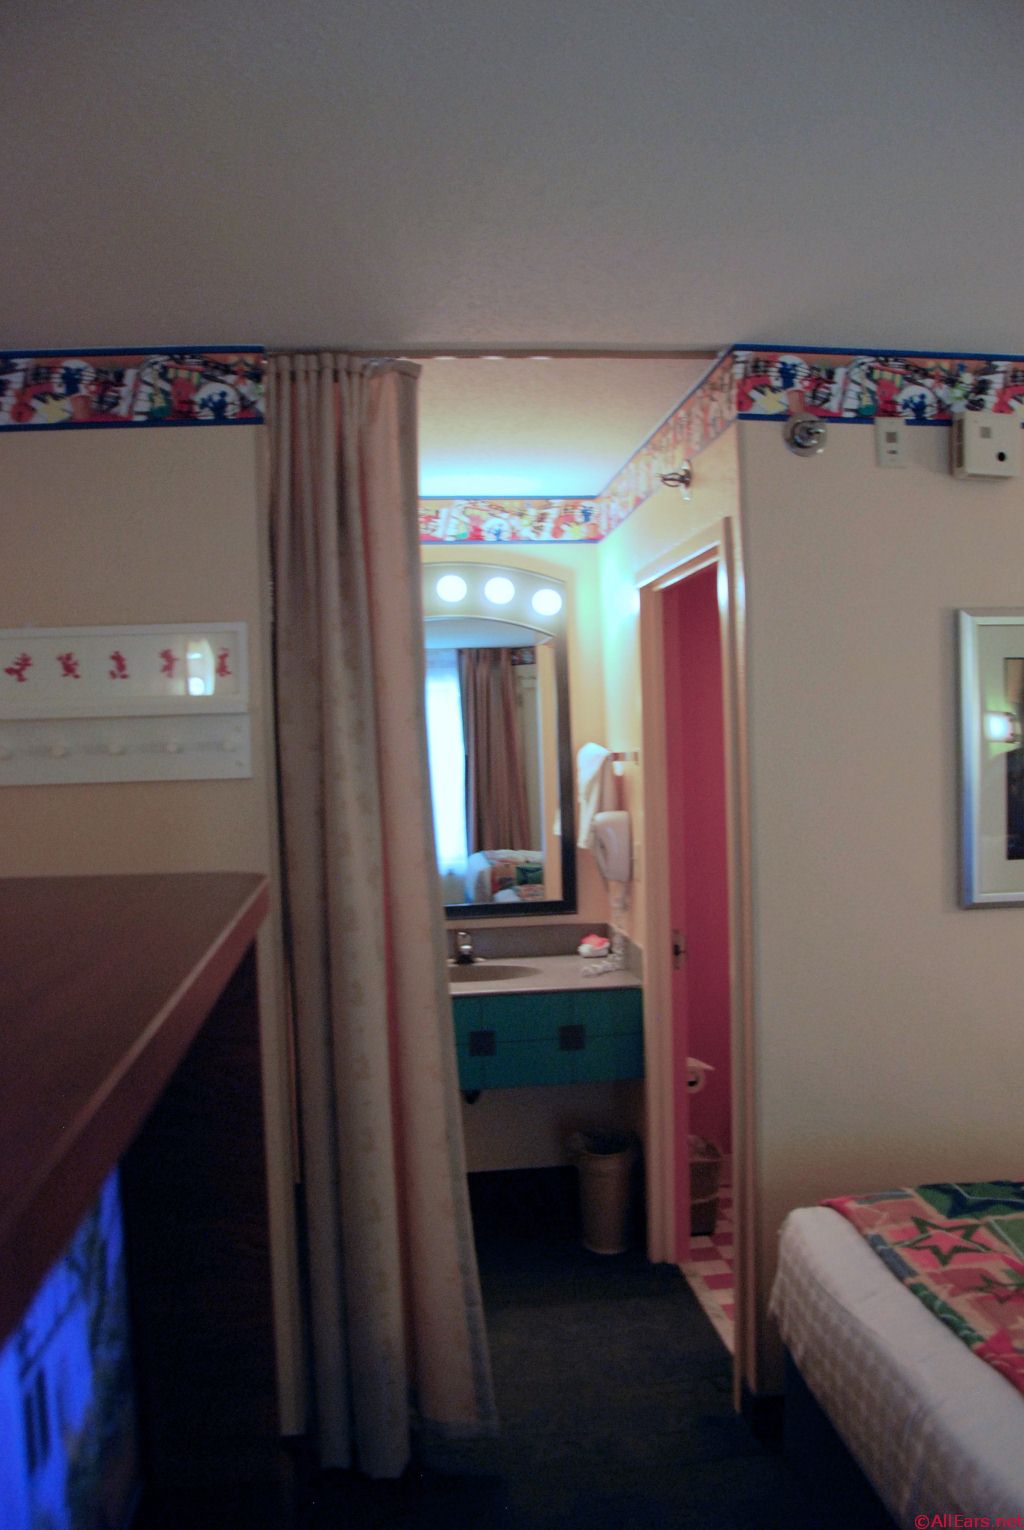
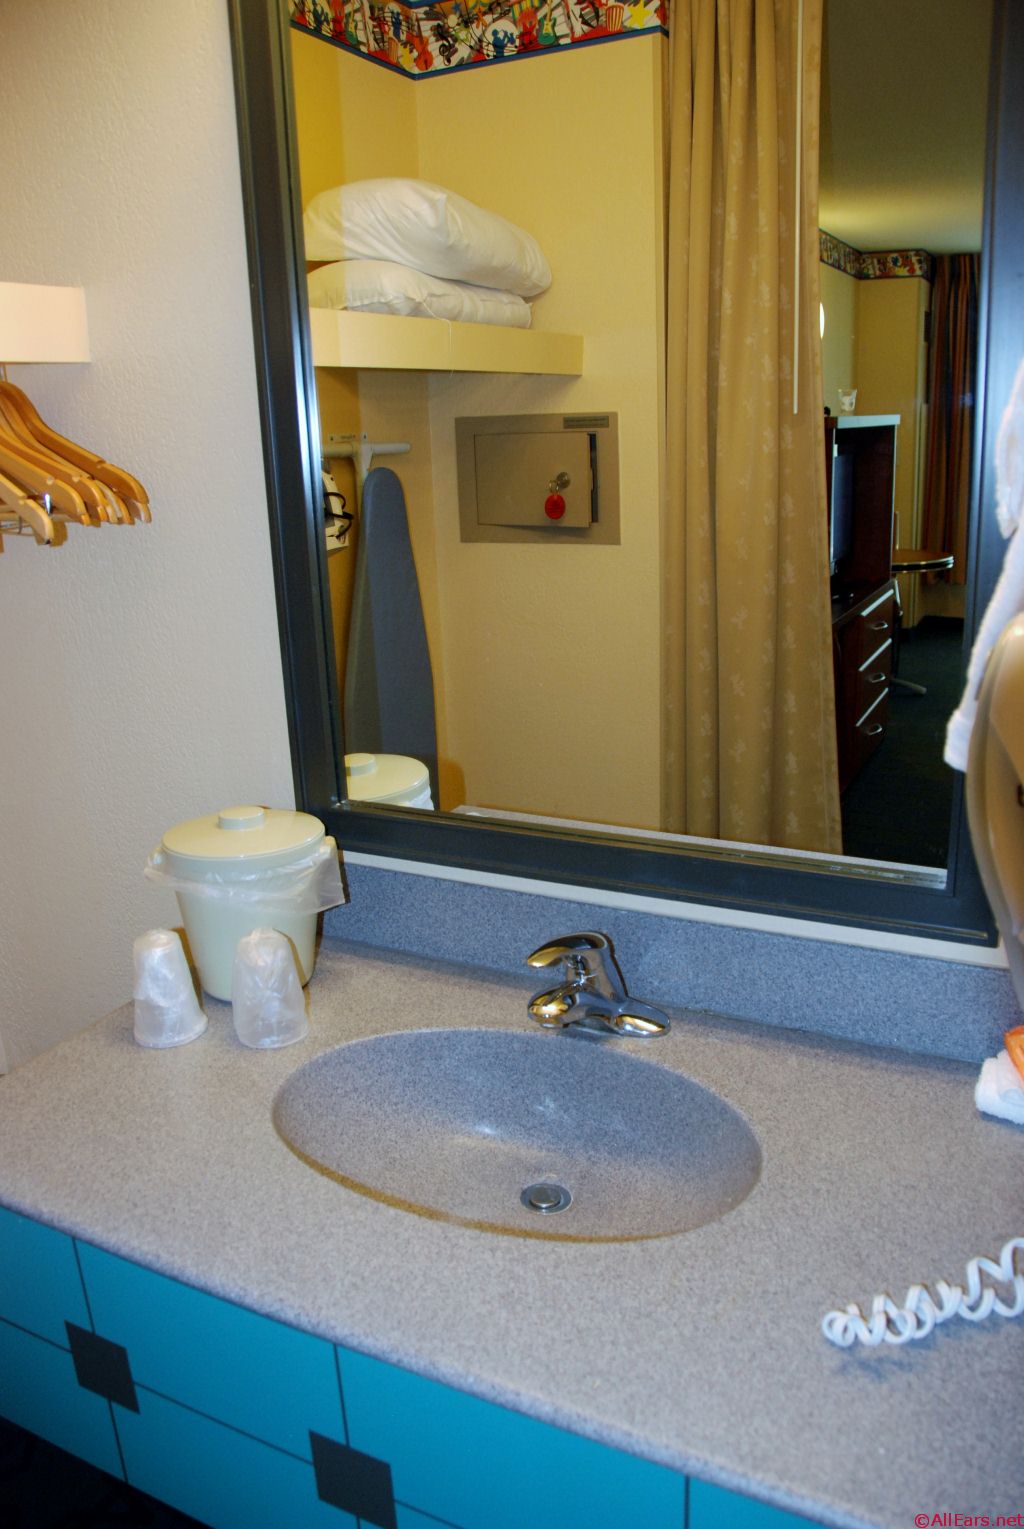
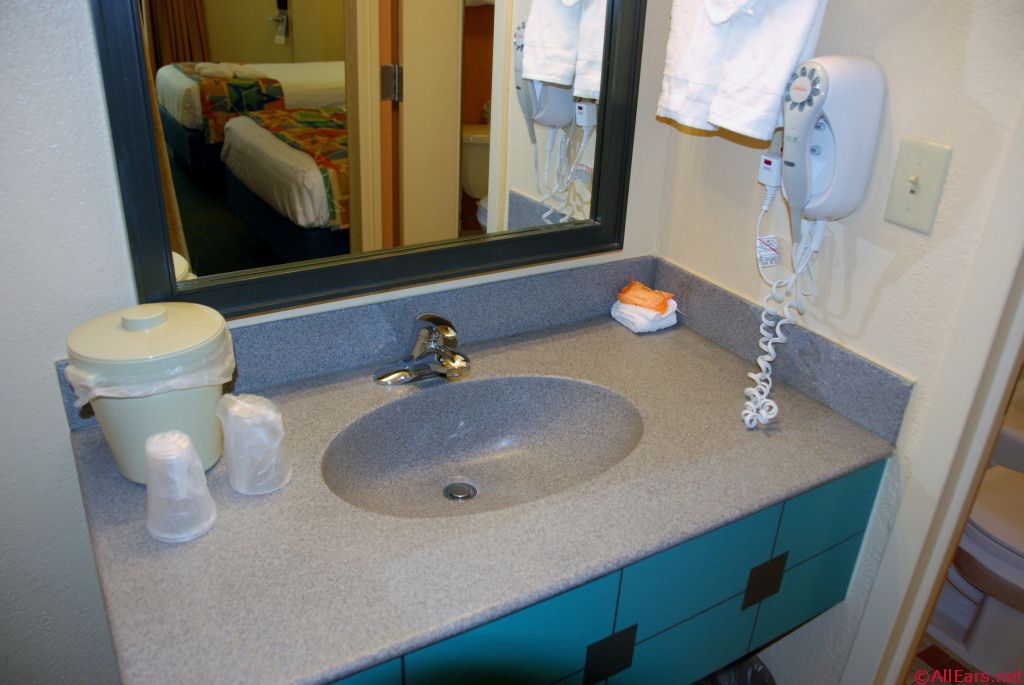
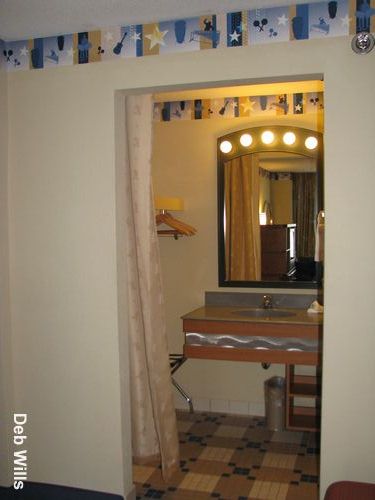
First Bathroom I
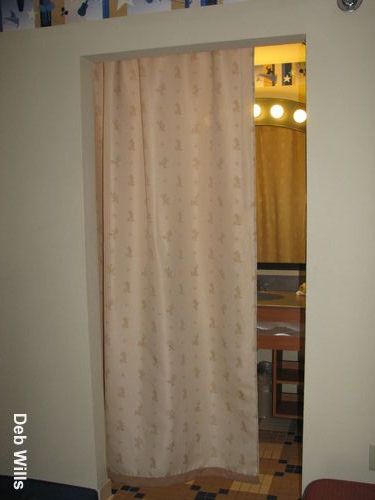
First Bathroom II
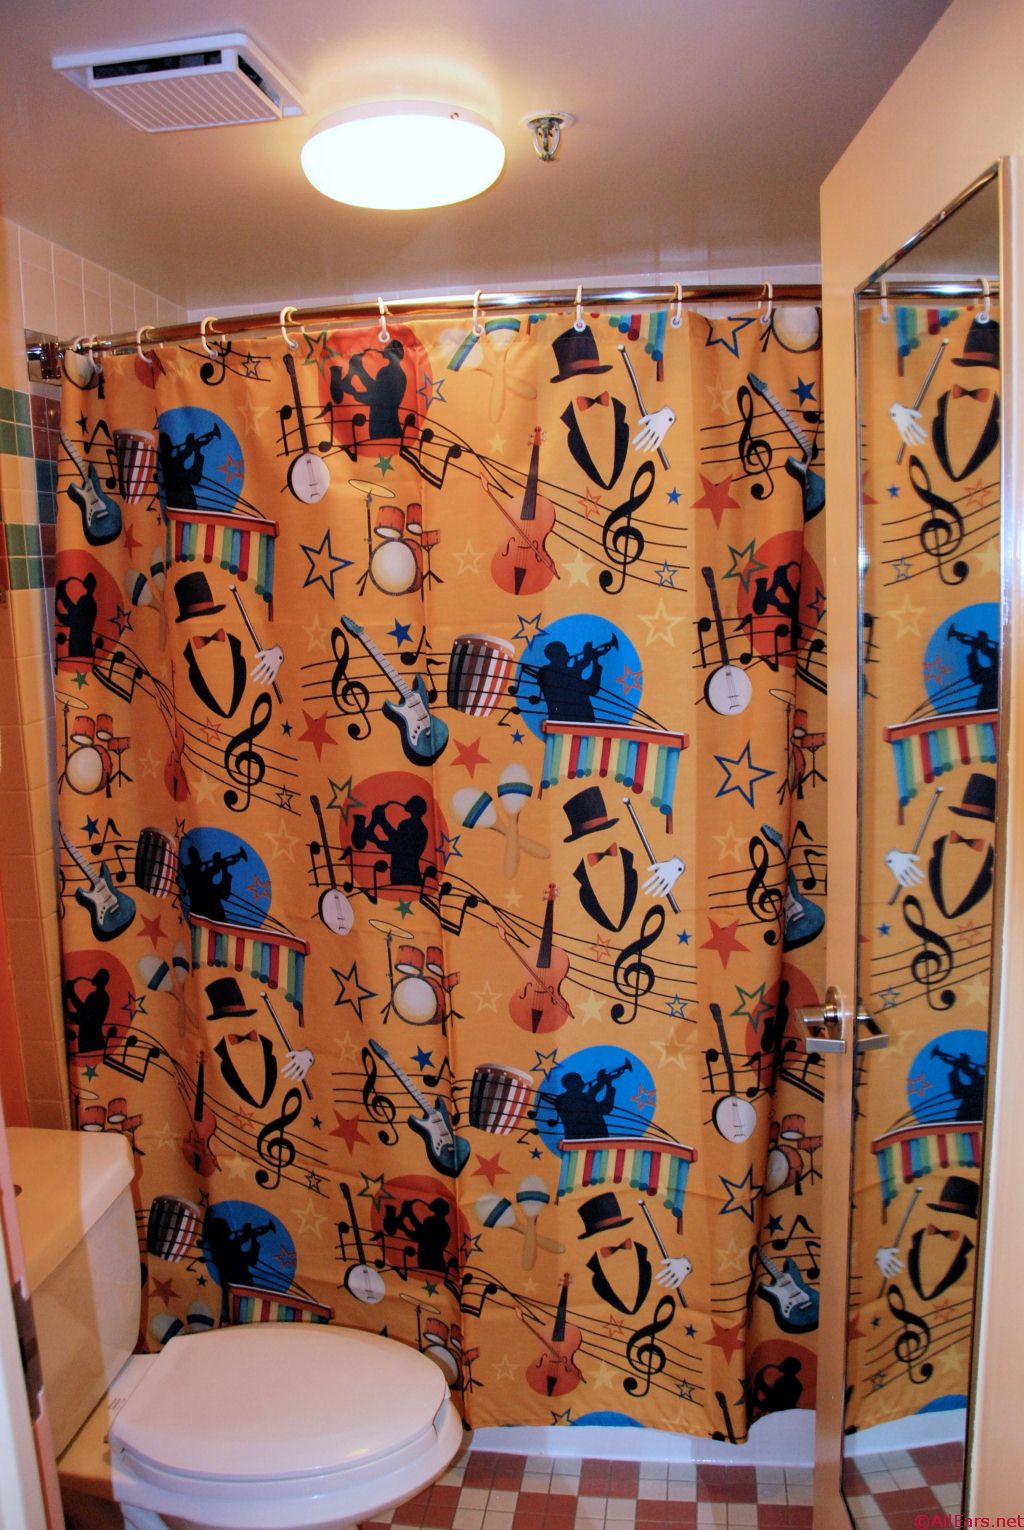
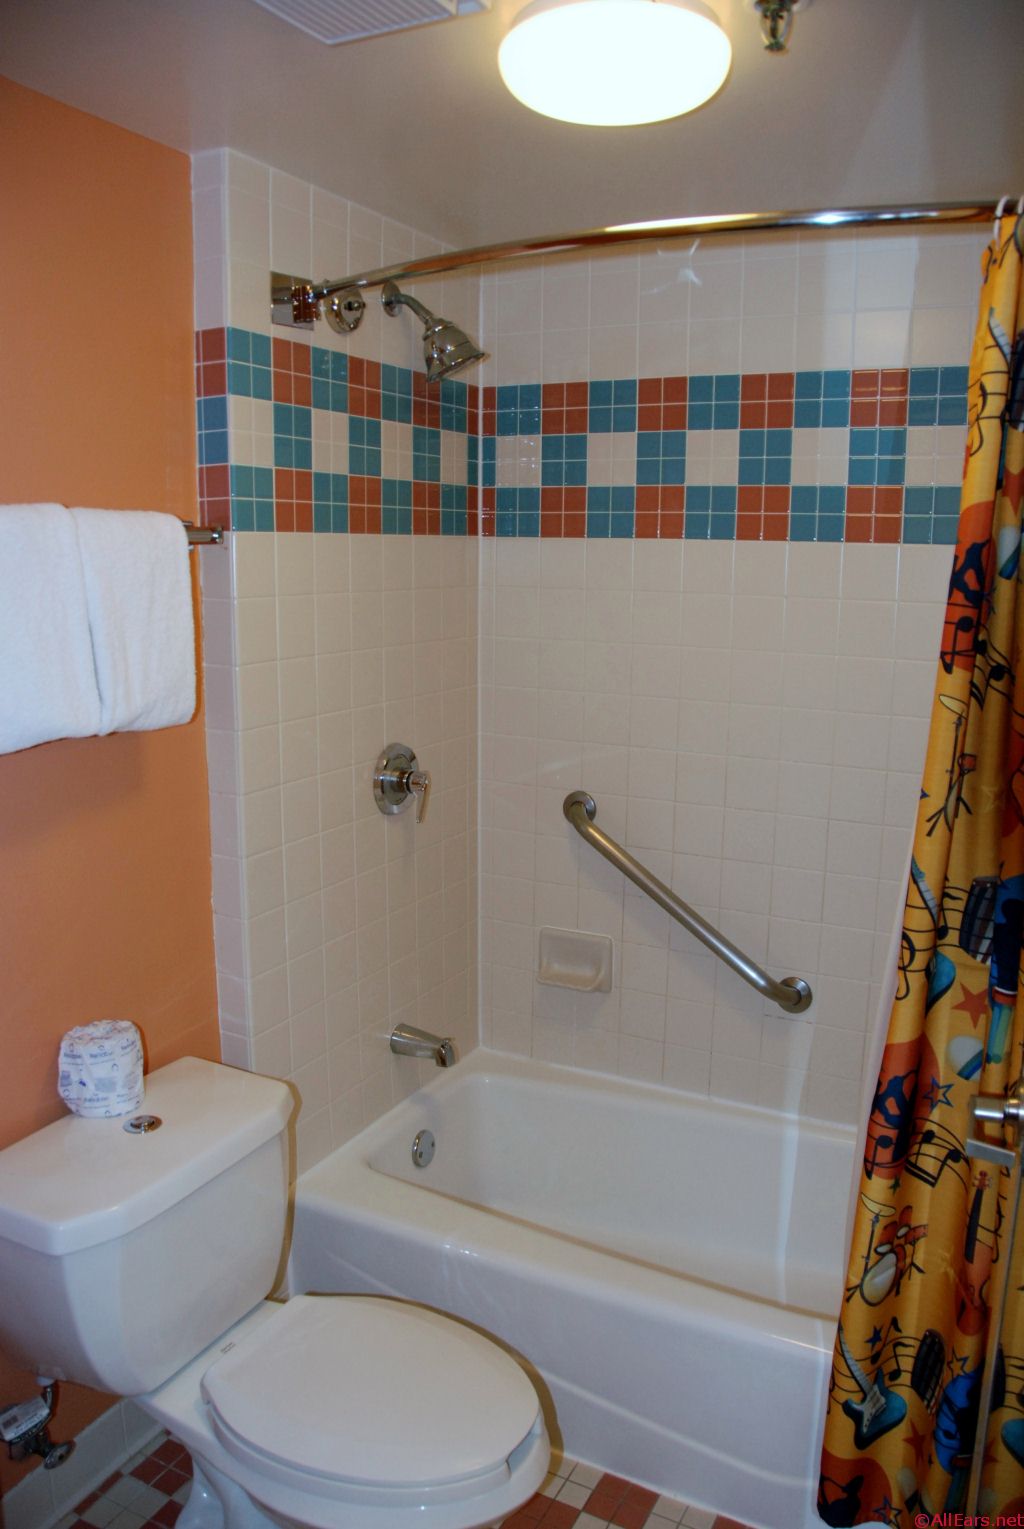
First Bathroom III
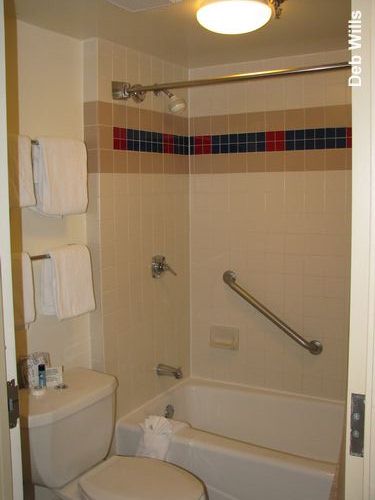
First Bathroom IV
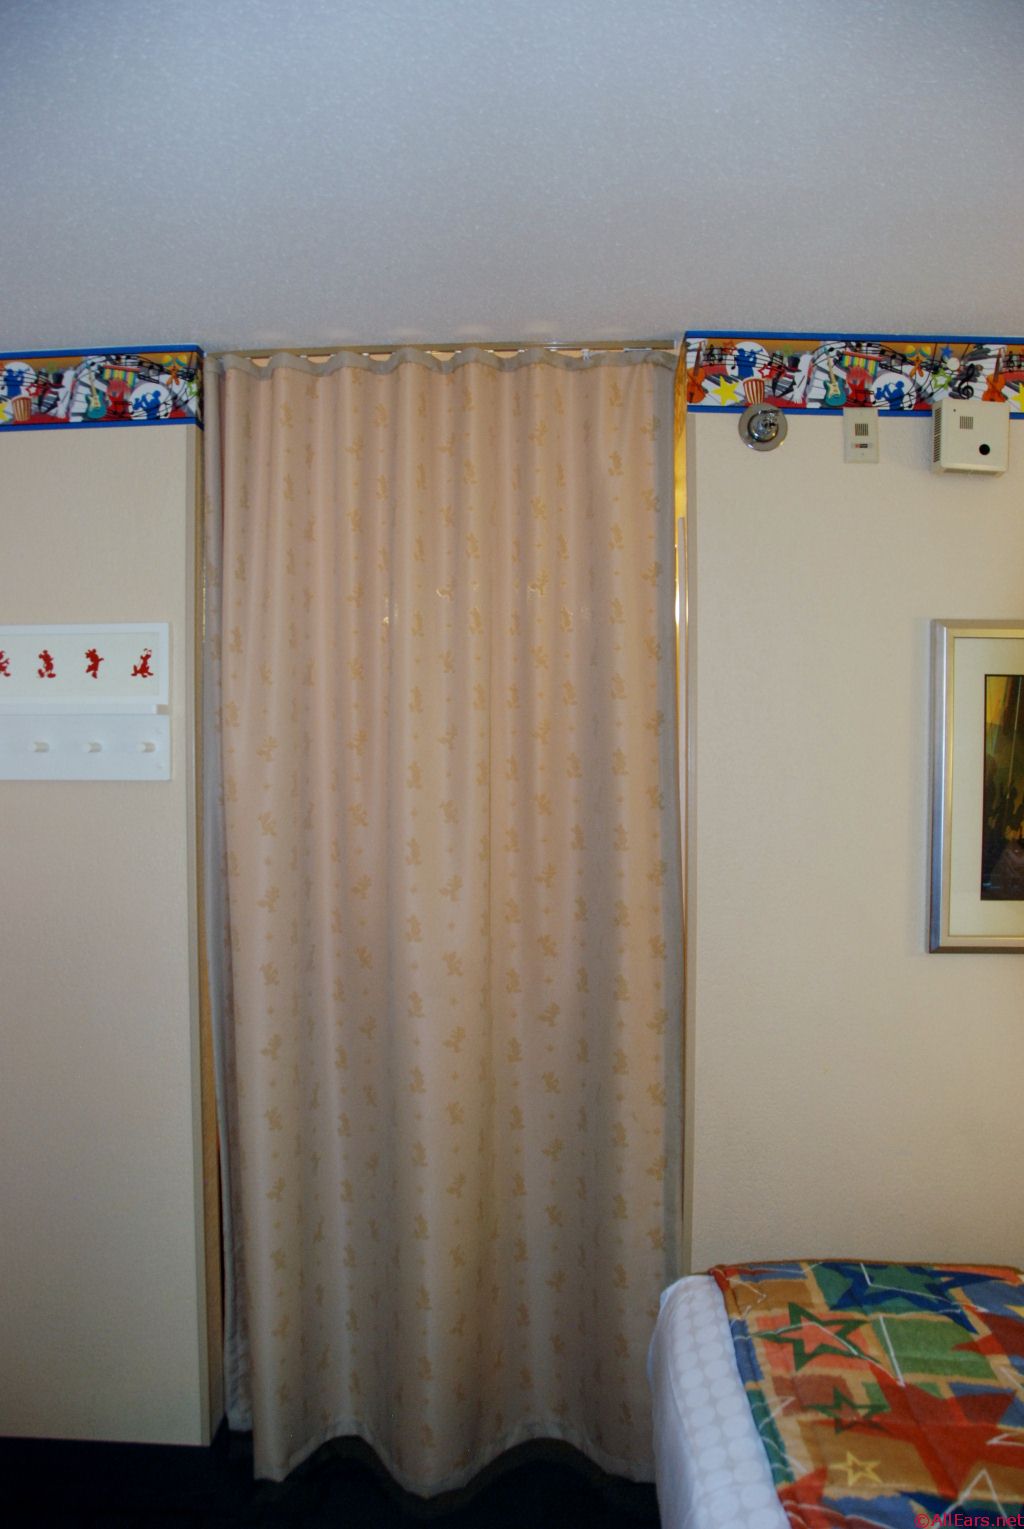
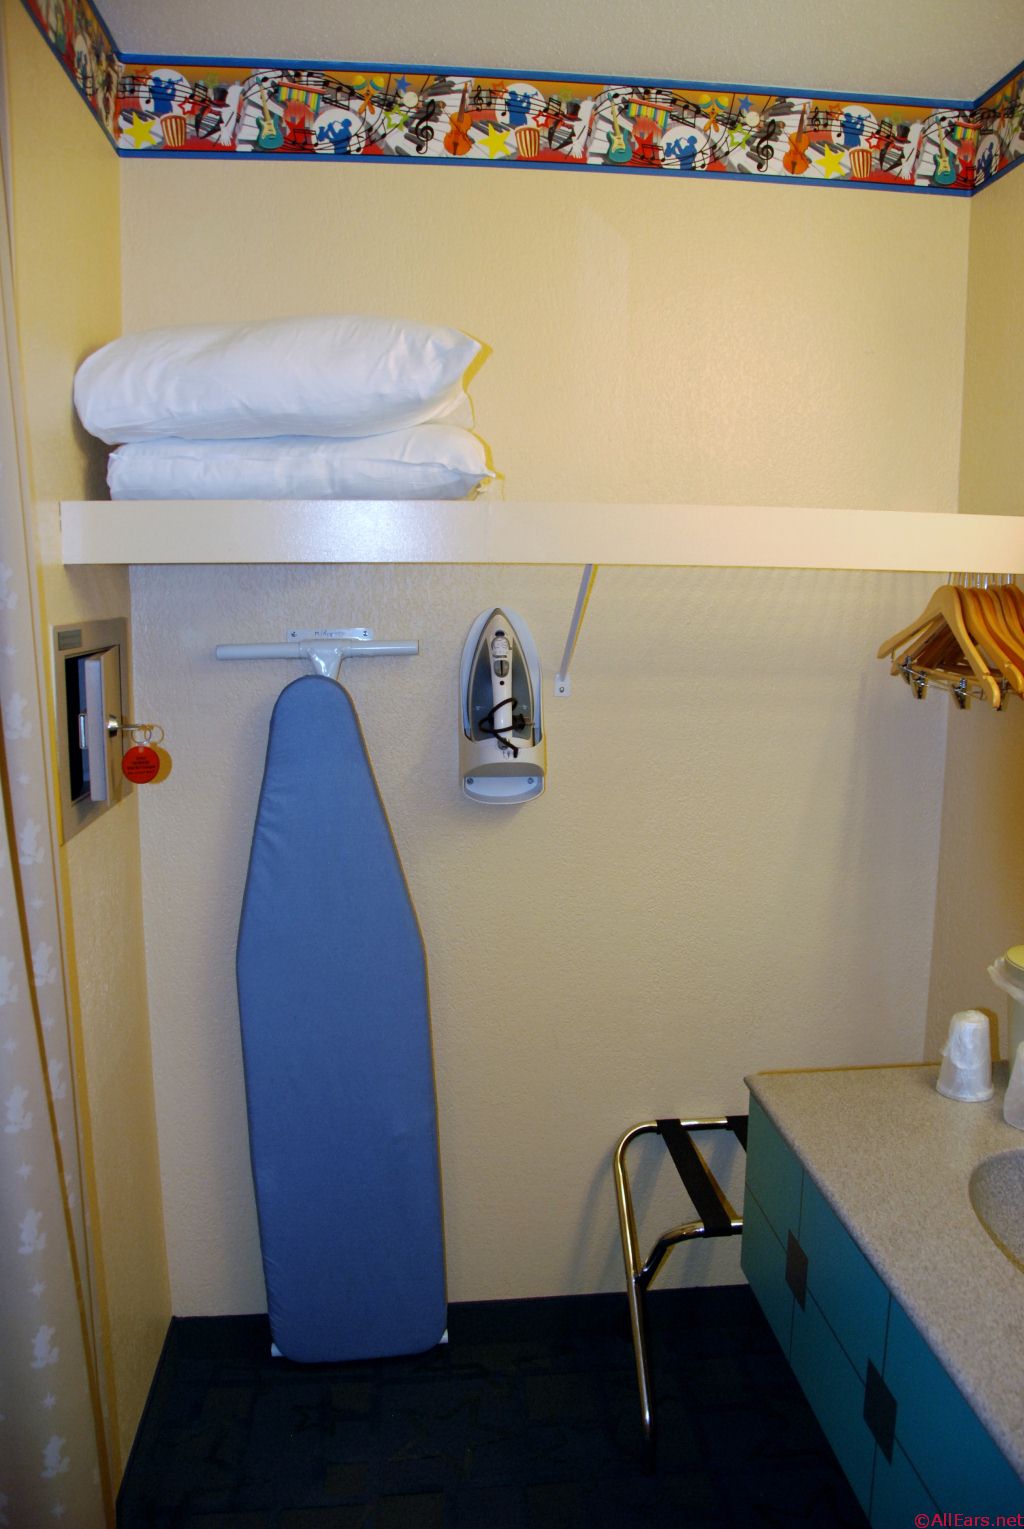
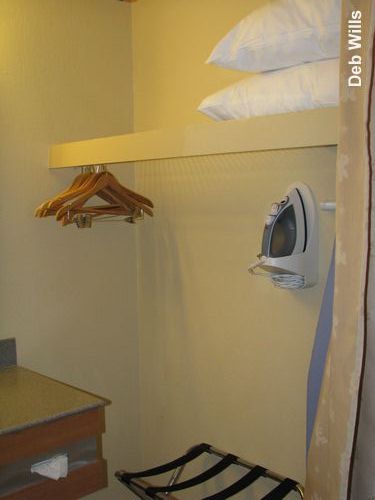
Closet Area at First Bathroom I
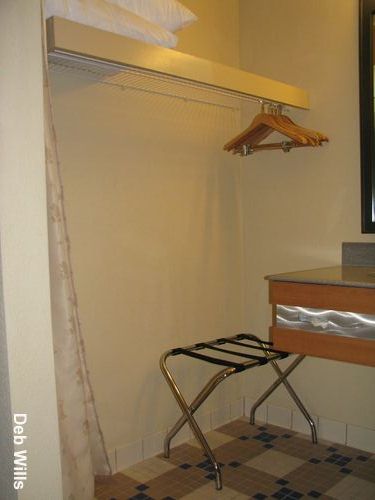
Closet Area at First Bathroom II
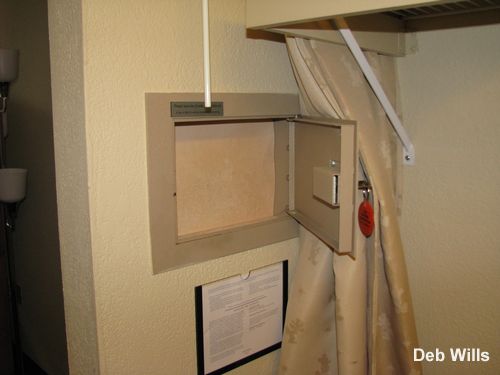
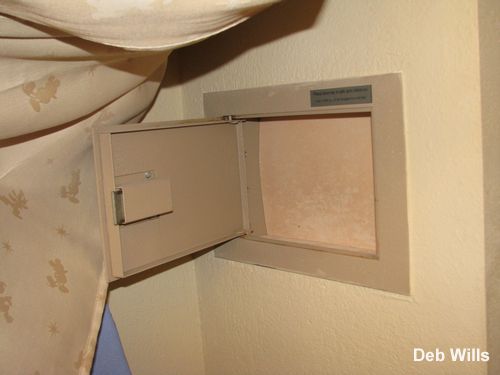
First of Two In-Room Safe
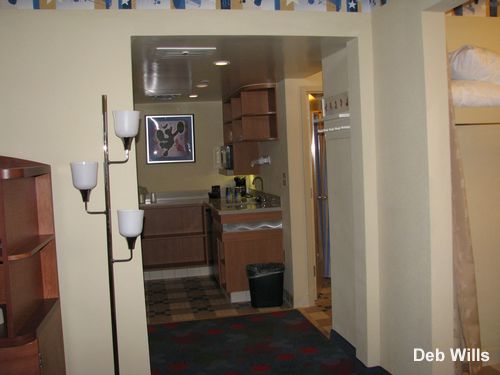
View of Kitchenette from Living Room Sofa
Kitchenette II
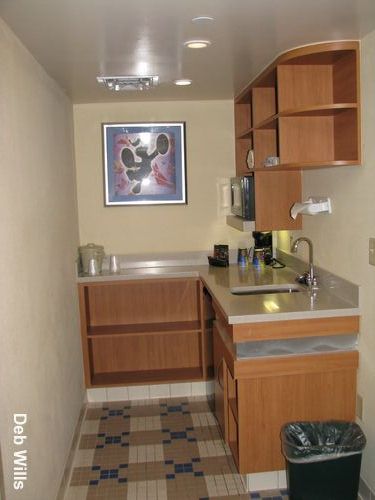
Kitchenette III

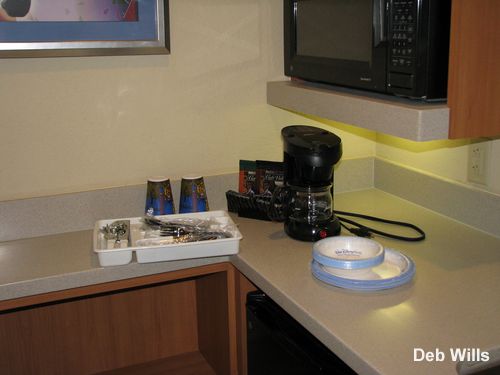
Kitchenette IV
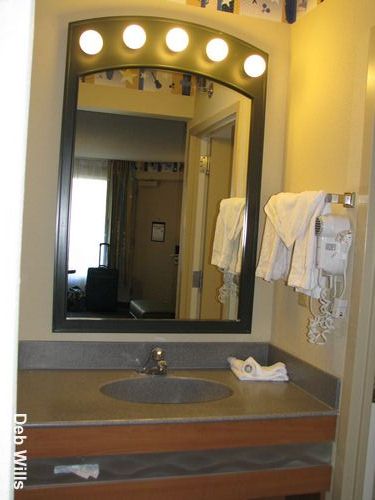
Second Bathroom (near Kitchenette)
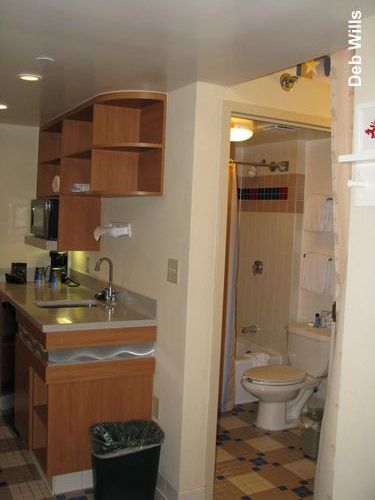
Second Bathroom II
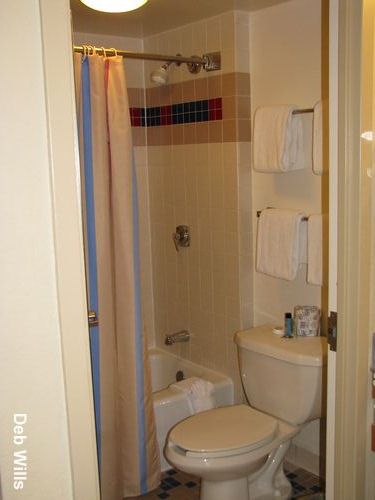
Second Bathroom III
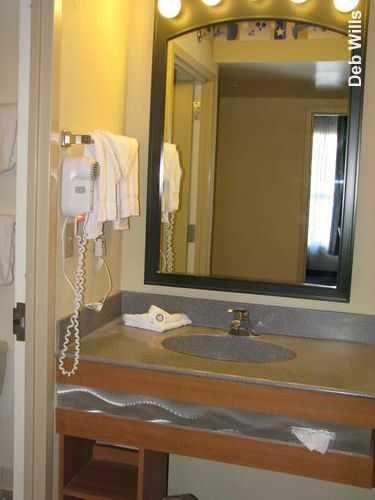
Second Bathroom
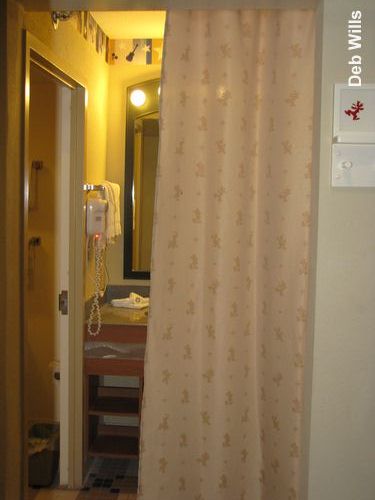
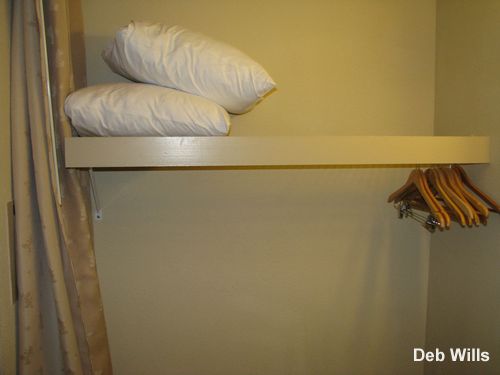
Closet Area at Second Bathroom II
2nd In-Room Safe
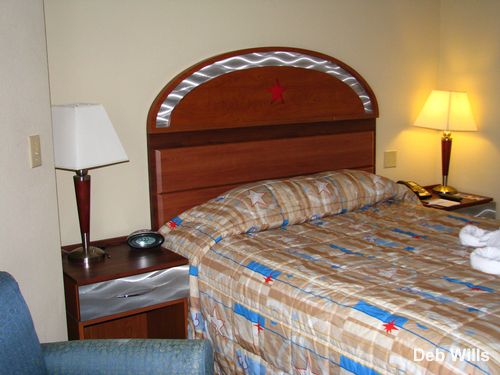
Master Bedroom I
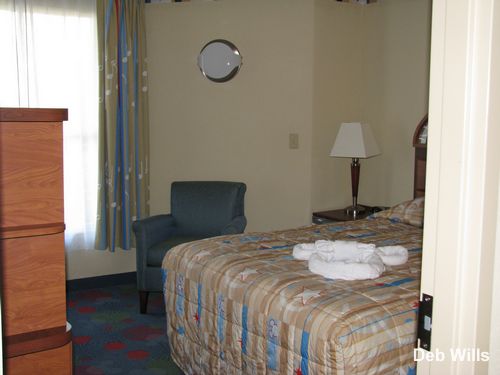
Master Bedroom II
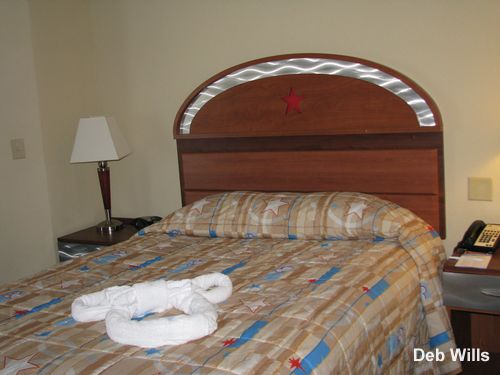
Master Bedroom III
Master Bedroom IV
Master Bedroom V
Master Bedroom VI
Master Bedroom VII
Master Bedroom VIII
Master Bedroom IX
Master Bedroom X
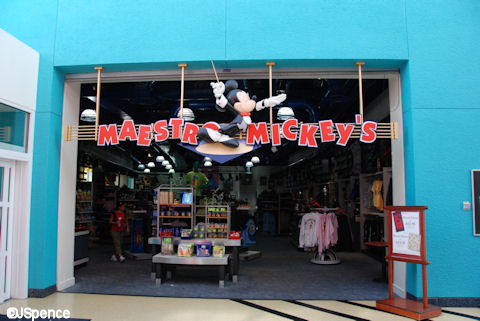
Maestro Mickey's Store
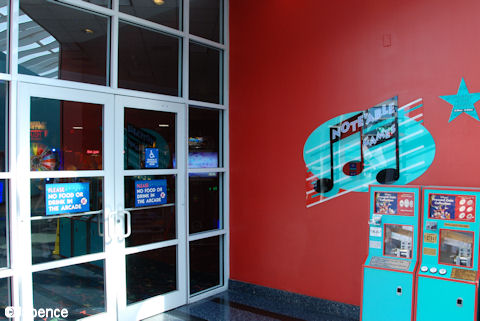
Note'able Games Arcade Entrance
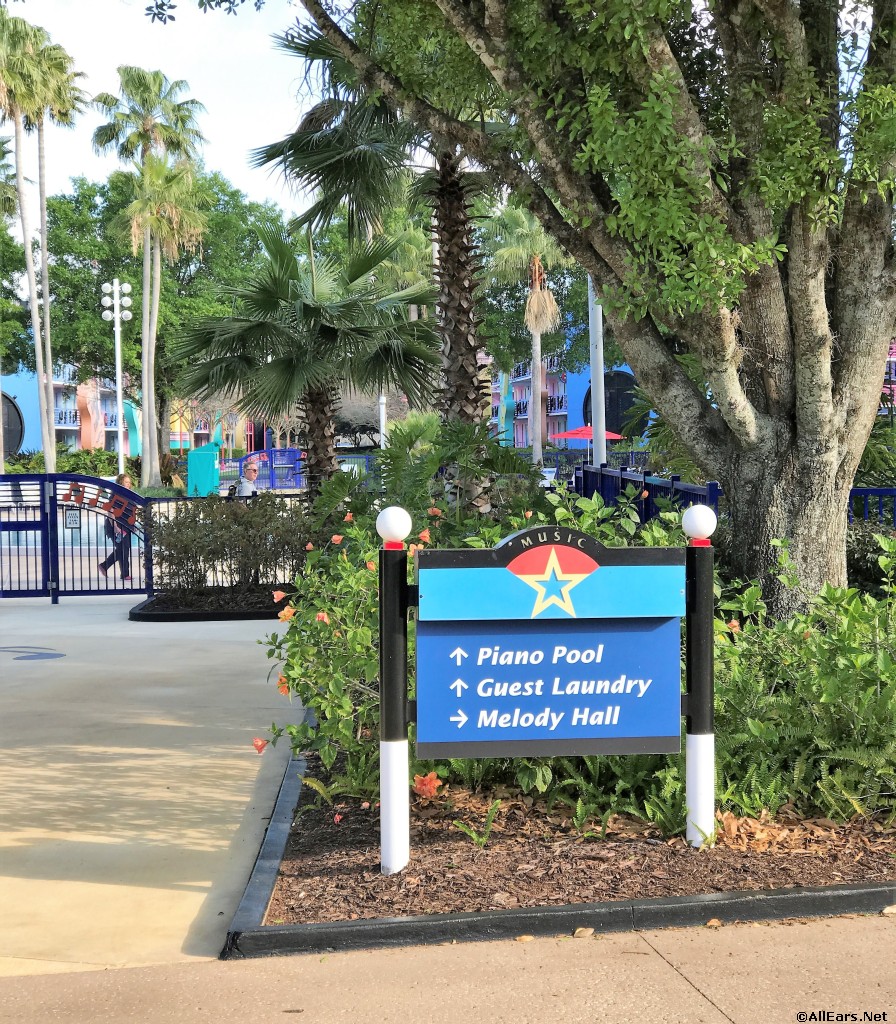
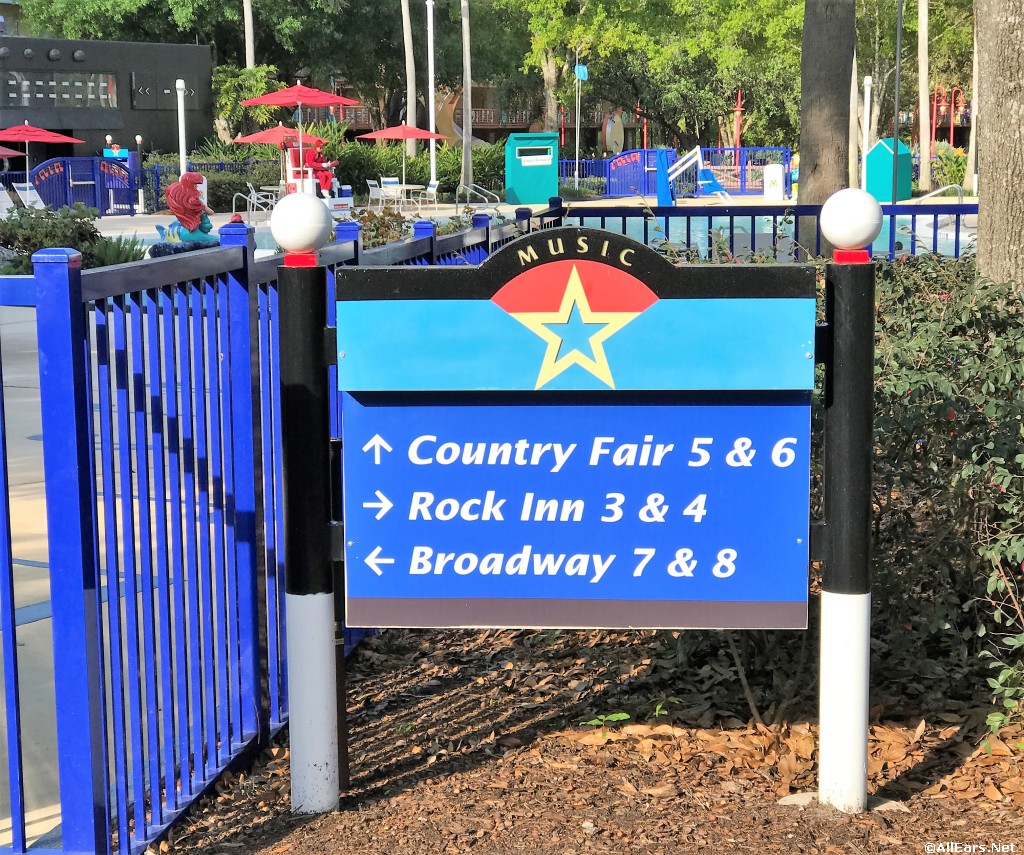
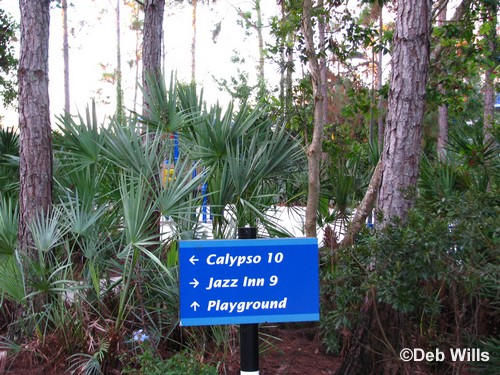
Playground Directional Sign
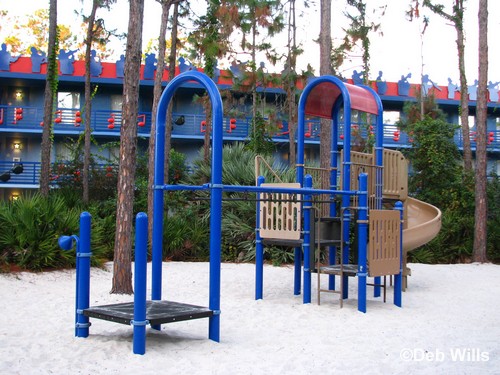
Playground I
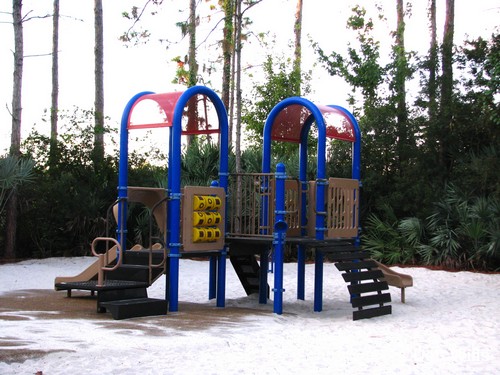
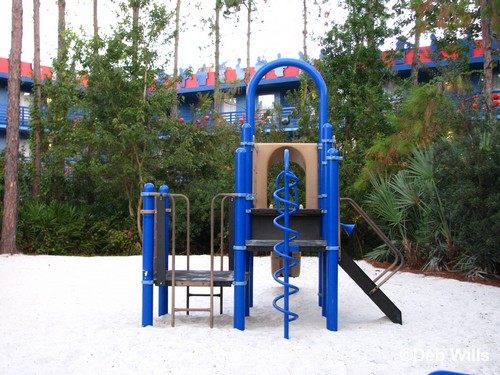
Playground II
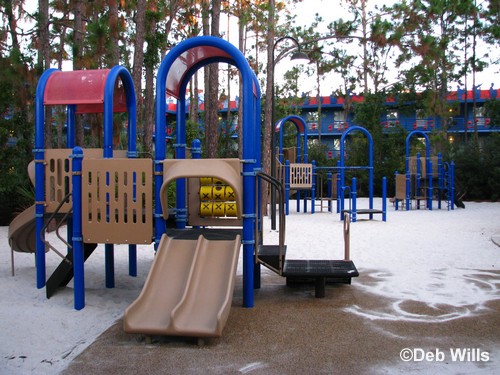
Playground III
Playground IV
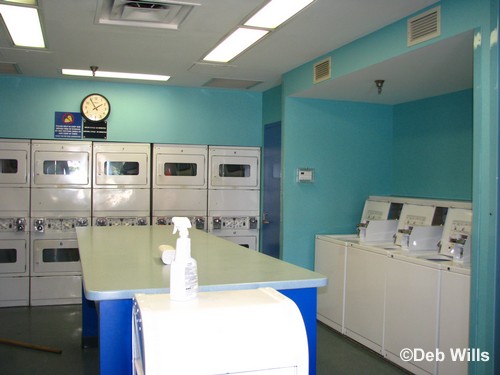
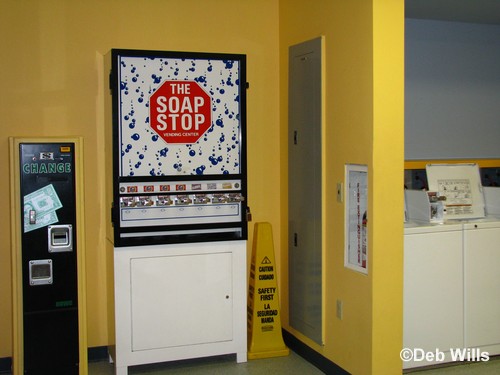
Laundry Room I
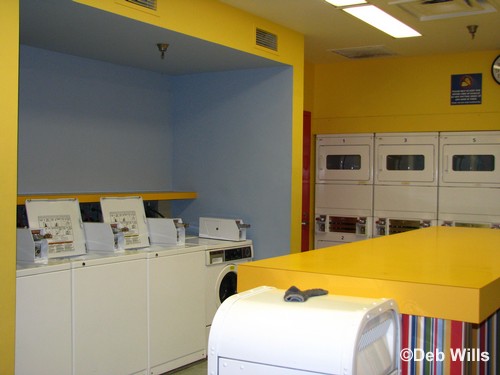
Laundry Room II
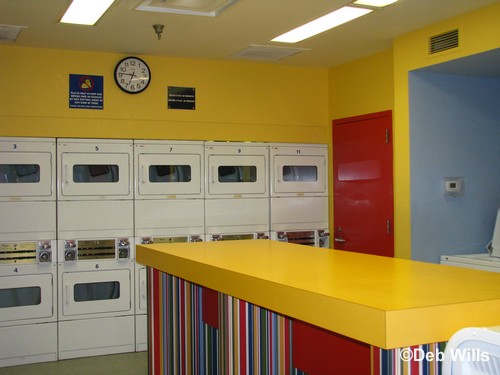
Laundry Room III
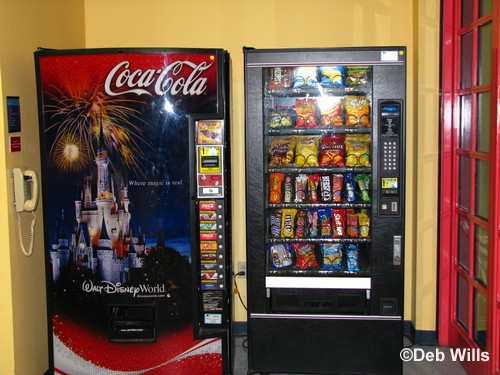
Laundry Room IV
Laundry Room V

Laundry Room VI
Laundry Room I

Laundry Room II